AfterShip TrackingUpdated 3 months ago
p.p1 {margin: 0.0px 0.0px 0.0px 0.0px; font: 13.0px 'Helvetica Neue'}
This integration was built by our partners and the wait time in case of any technical issues might be a bit longer than for a regular support request.
AfterShip Tracking is a web-based automated shipment tracking platform for e-commerce retailers. A single interactive dashboard allows you to track your shipments across 900+ couriers worldwide, including USPS, UPS, FedEx, BlueDart, and DHL.
The all-in-one tracking system enables retailers to enhance their post-purchase experience and avoid service tickets with branded tracking pages, a 1-click order lookup widget, mobile tracking app, and proactive delivery notifications.
- Sync customer information and tracking updates from your AfterShip account to your corresponding Gorgias account.
- Populate tracking updates associated with a customer’s email address in Gorgias tickets.
- Navigate to the AfterShip Shipment Details page from the helpdesk with Gorgias’s deep link integration functionality.
- Respond manually or send automated email replies with all the order information right next to the ticket.
Integration benefits
- Reduce WISMO calls: Efficiently lower the volume of "Where is my order?" inquiries by providing proactive updates.
- Streamline support workflow: Support agents can view real-time tracking details directly within Gorgias tickets without switching tabs.
- Enhance customer experience: Resolve delivery-related issues faster by sharing accurate tracking info (e.g., status, EDD, and carrier info) instantly.
Steps
- Install AfterShip Tracking in Shopify
- From your Gorgias account, head to Settings → App Store → All Apps
- Find AfterShip Tracking on the list
- After selecting the app, click on the Connect App button
- Authorize the app
- Once installed, an HTTP integration will be created:

As soon as a ticket is created for a customer with AfterShip Tracking data and an active shipped order, the widget will be prompted, and their data will show in the sidebar: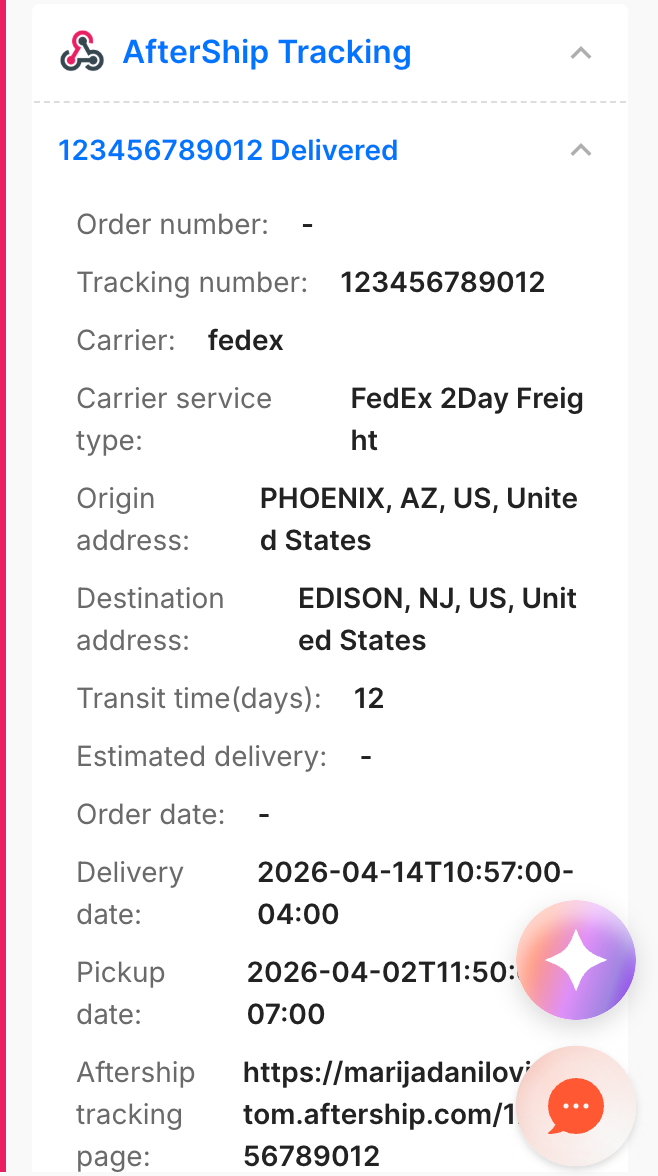
Add the widget to your sidebar
To make sure AfterShip data is pulled into Gorgias, alternatively to the customer creating a ticket, go to your AfterShip Dashboard and find a customer with available tracking information, or add a new shipment manually:
