Create tickets via Klaviyo's sign-up formUpdated 5 months ago
Create a segment in Klaviyo
1. Name it and add Tags if needed (Tags aren't required for the flow to work).
2. Add the following values under the definition: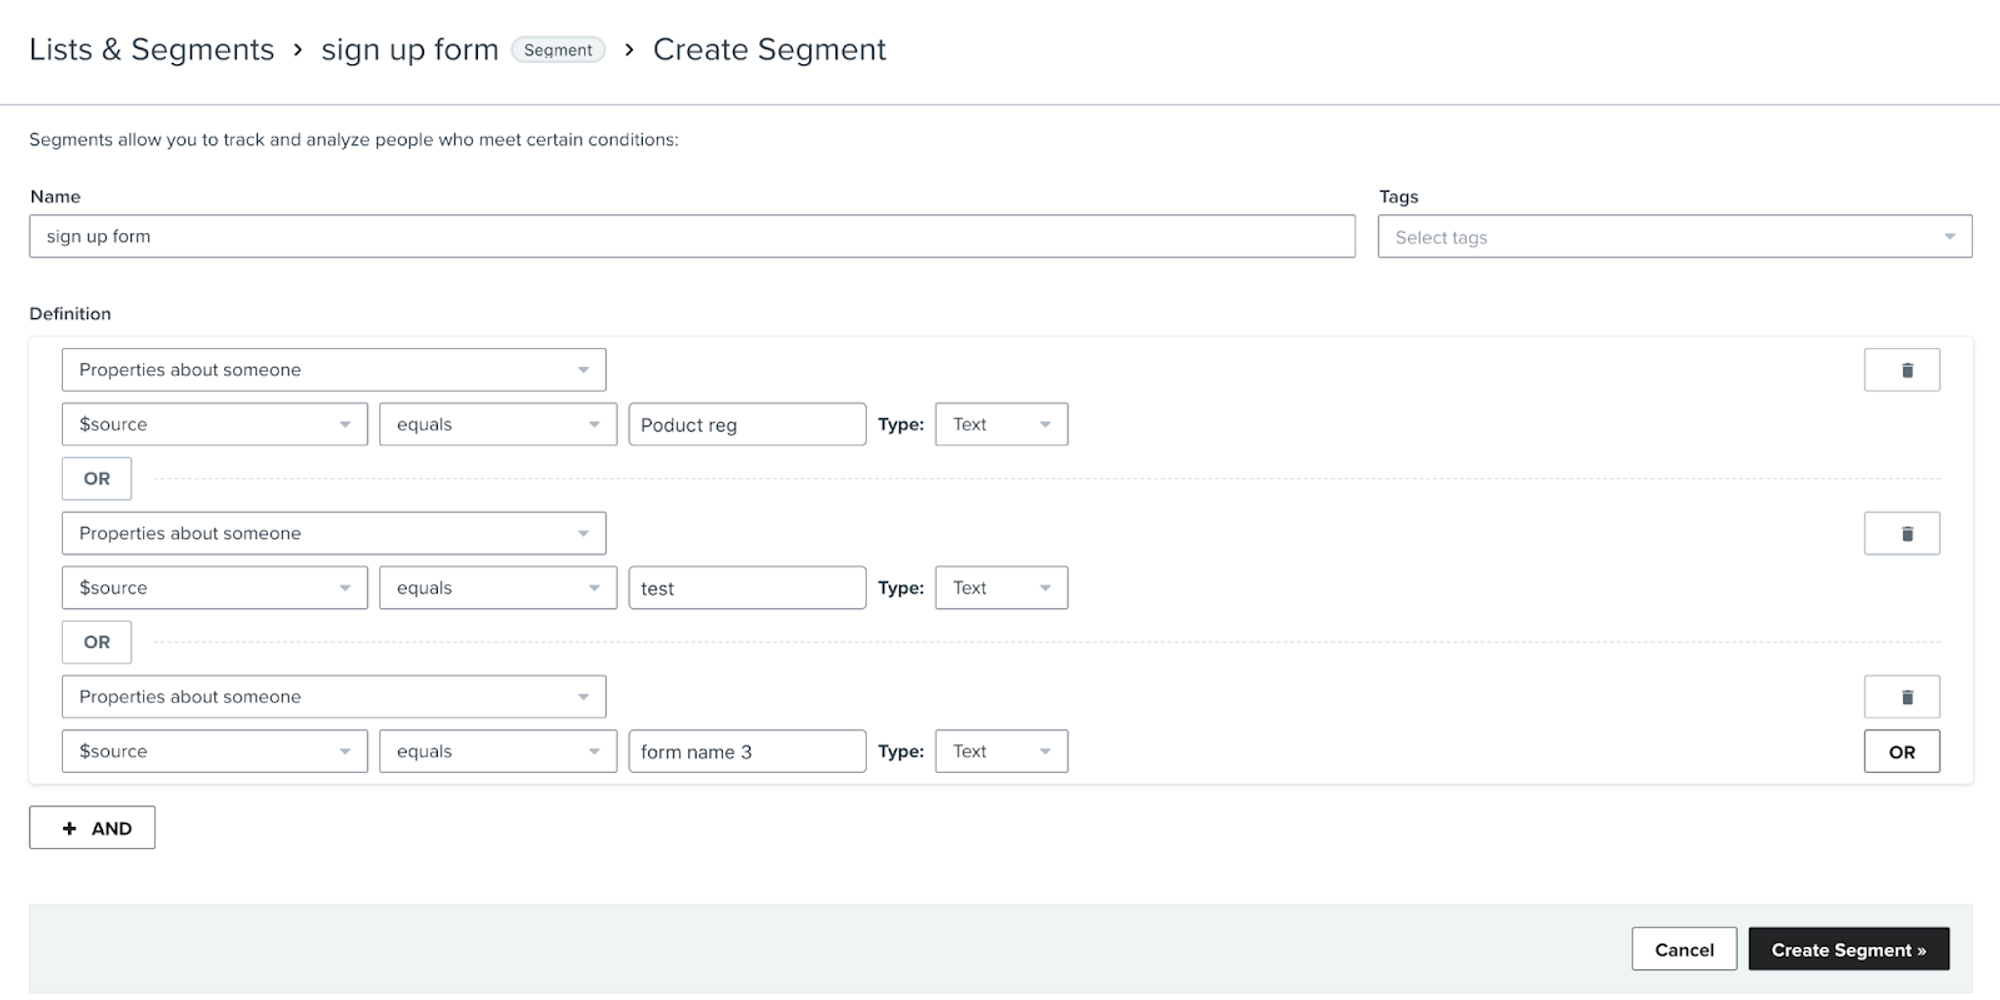
3. Each $source value should match your sign-up form name.
4. Click on Create Segment.
Create a flow in Klaviyo from scratch
1. Name it and add Tags if needed (Tags aren't required for the flow to work).
2. Under trigger, select Segment.
3. Select the segment that was created in the previous step and click Done.
4. For actions select Webhook.
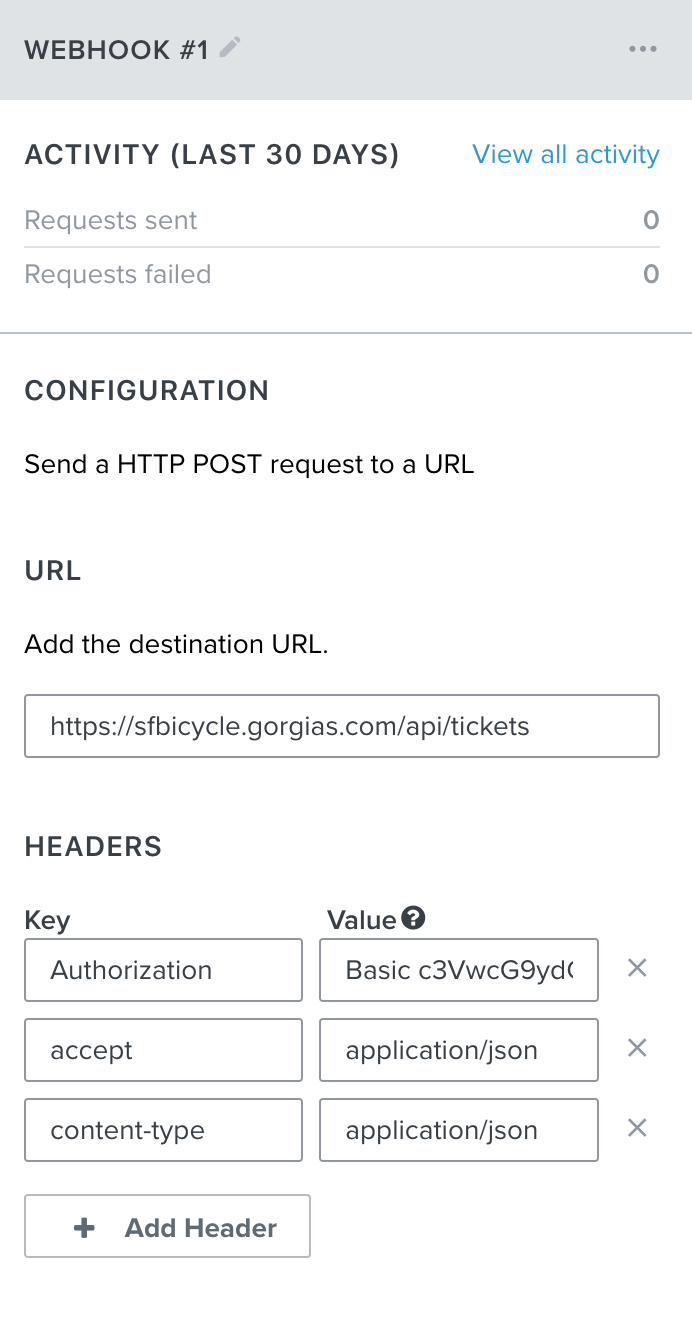
5. Under URL add the following: https://yoursubdomain.gorgias.com/api/tickets (please make sure to change yoursubdomain to your actual Gorgias subdomain).
6. Under Headers add the following:
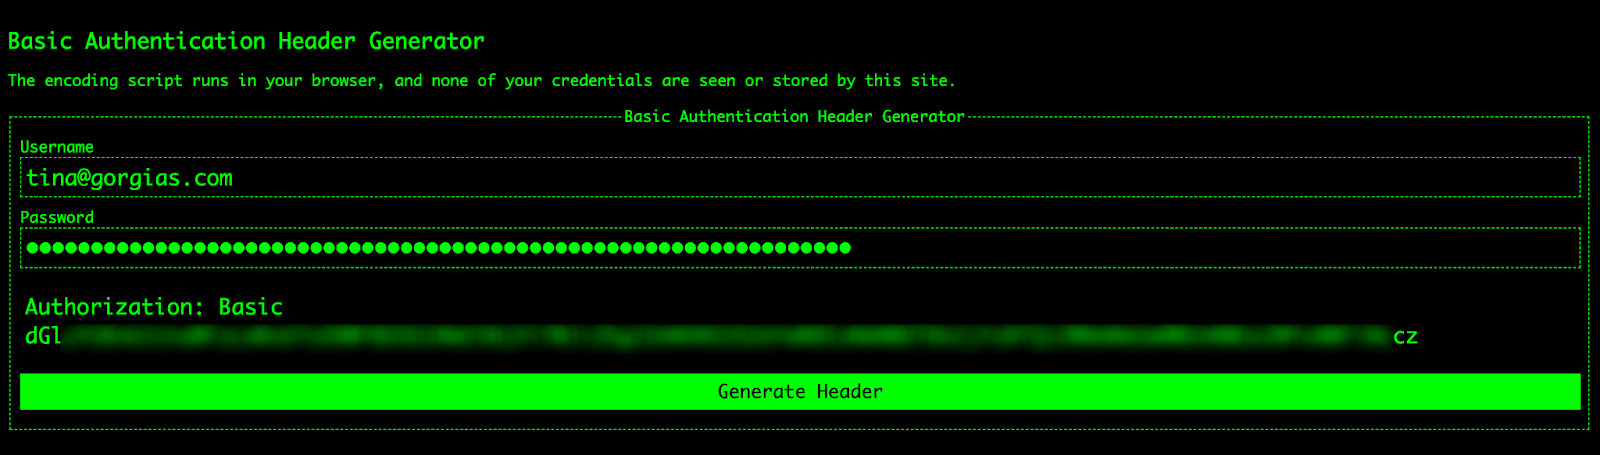
- Key: Authorization, for the Value go to your Gorgias account then navigate to Settings -> You -> REST API and copy your username (email) and password (API key), then paste the values here and click Generate Header to receive something like this:
- Add another Header in Klaviyo and enter under key: accept and value: application/json
- Add another Header in Klaviyo and enter under key: content-type and value: application/json
7. Under JSON Body, add the following:
1{2 "customer": {3 "email": "{{ person.Email|default:'' }}"4 },5 "messages": [6 {7 "sender": {8 "email": "{{ person.Email|default:'' }}"9 },10 "source": {11 "to": [12 {13 "address": "email address integrated to Gorgias you'd like ticktets created from "14 }15 ],16 "from": {17 "address": "{{ person.Email|default:'' }}"18 }19 },20 "body_html": "{{ person|lookup:'Contact Us Message'|default:'' }}",21 "body_text": "{{ person|lookup:'Contact Us Message'|default:'' }}",22 "channel": "email",23 "from_agent": false,24 "via": "api"25 }26 ],27 "channel": "email",28 "from_agent": false,29 "subject": "{{ person.Subject|default:'' }}"30}3132
8. Add your email address under the source.to.address value.
9. You can also add different values for body_html, body_text, and subject.
10. You can preview the webhook and run a test to ensure it works properly, then click Save Changes.
11. Review it and turn it on: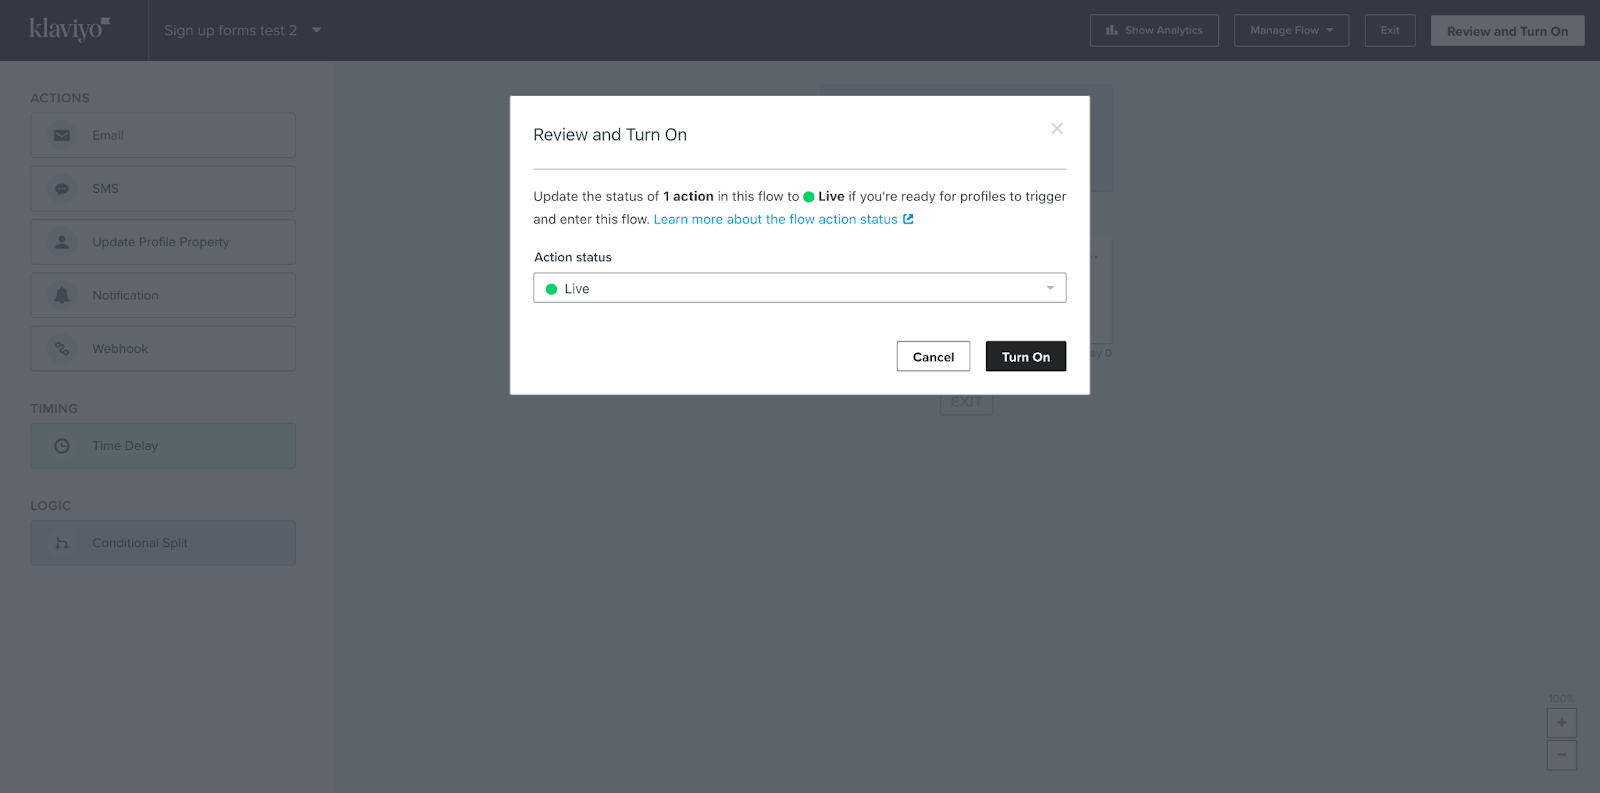
Create HTTP Integration in Gorgias
1. In Gorgias go to Settings -> App Store -> HTTP Integration, then click on Add HTTP Integration.
2. Add the integration name and description (Klaviyo/pull Klaviyo customer data in Gorgias).
3. Fill out the fields with the following information:
Triggers: Check all of them
URL: https://a.klaviyo.com/api/profiles/?filter=equals(email,"{{ticket.customer.email}}")
HTTP Method: GET
Response content-type: application/json
Headers:
Revision 2023-01-24
Authorization Klaviyo-API-Key {your private Klaviyo API key}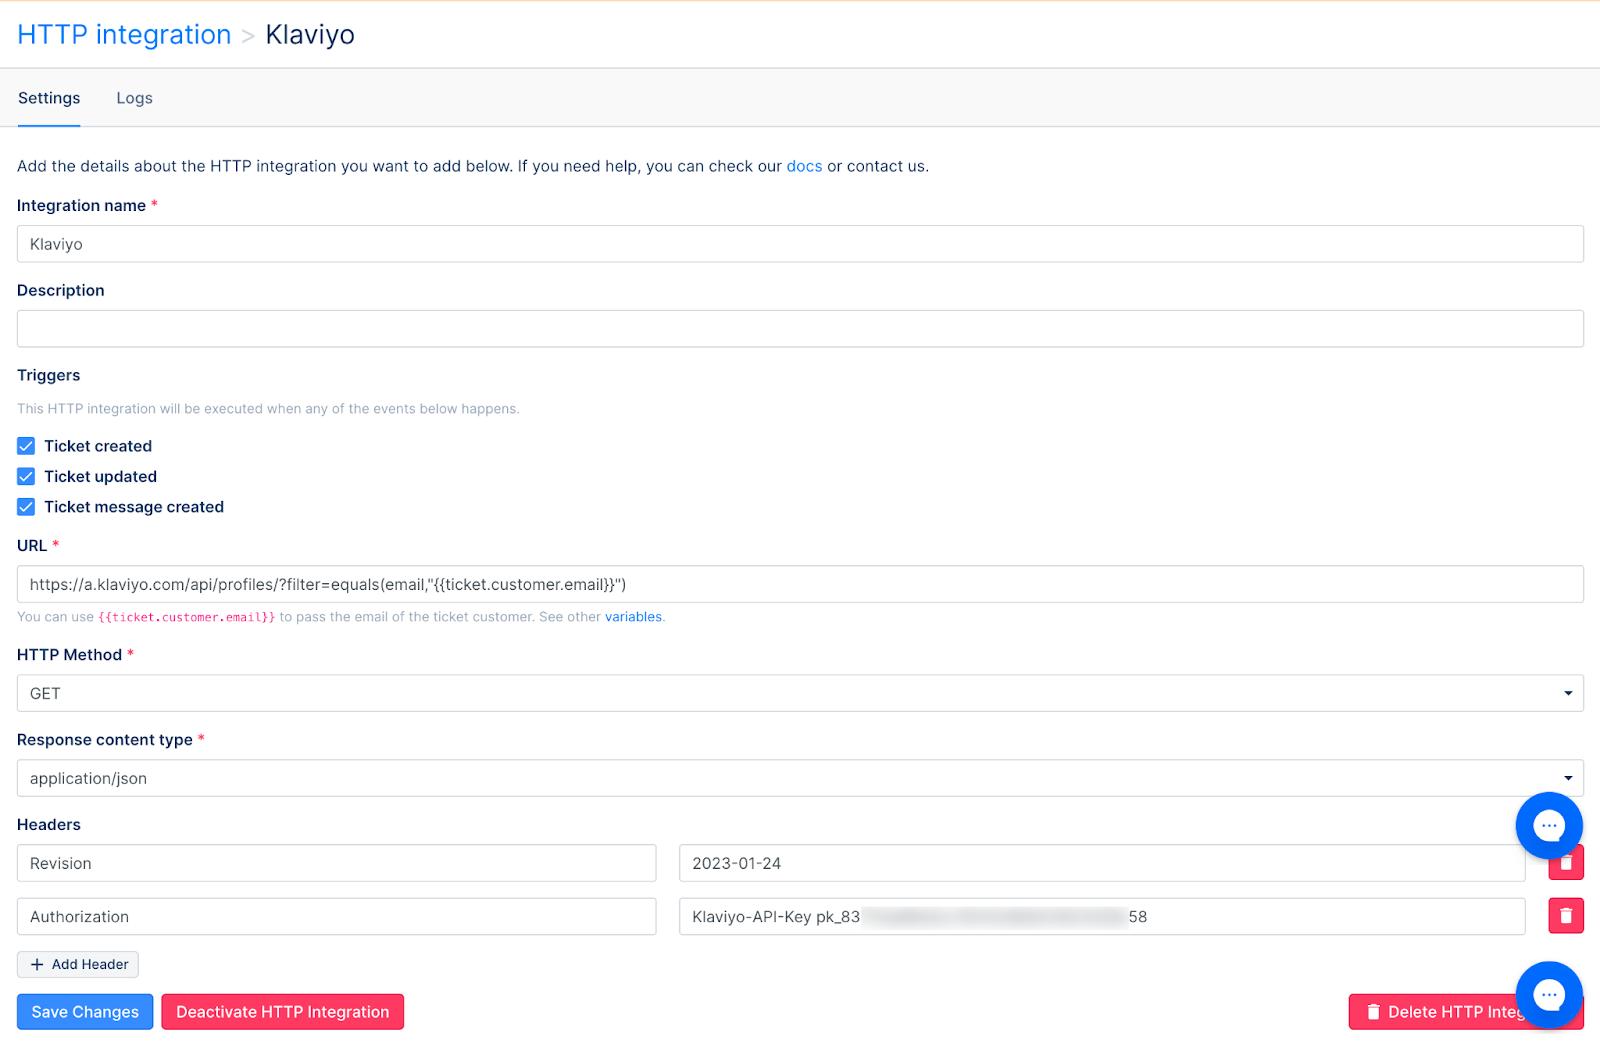
4. Click Add Integration.
Testing the flow
1. Submit the Klaviyo sign-up form.
2. Head to Gorgias and check if the ticket was created.
3. When the ticket is opened, follow these steps to pull the Klaviyo widget to the ticket sidebar.
