GobotUpdated 6 months ago
Gobot helps fast-growing Shopify stores convert more shoppers and reduce support burden with guided selling quizzes and AI-powered support chatbots.
Gobot's integration with Gorgias allows you to seamlessly transfer from a Gobot Guided Shopping experience to Gorgias with full conversational context.
It can either automatically:
- Initiate a Gorgias live Chat conversation
- Create a new email ticket in Gorgias
For example, somebody completes your Skincare Routine Finder Guided Shopping experience, sees their recommended products, and has a question about the ingredients in one of the recommended products.
The shopper then sees a "Do you have any questions?" prompt directly within the Gobot Guided Shopping experience. Upon selection of "Yes, thanks!", Gorgias's live Chat widget is opened and all of the shopper's Guided Shopping answer choices + product recommendations automatically get sent to the Gorgias support rep.
This enables a seamless handover experience since there is no need for the support rep to request that the customer repeat any information.
Steps
1. Log into both your Gobot and Gorgias accounts separately.
2. Follow this link to simulate clicking the Install button in the app store —> https://yoursubdomain.gorgias.com/app/apps/61b13133ea4f2d4a2bc699e4?preview=true
3. After approving the Oauth2 installation flow you should be redirected inside Gobot.
4. In Gobot -> Bot mode -> Bot Dashboard, select the bot you'd like to add a Gorgias Chat or email ticket handover into.
5. In the right-hand Message Type panel, under Apps, select the Gorgias message type and drag it into the desired location in your bot script.

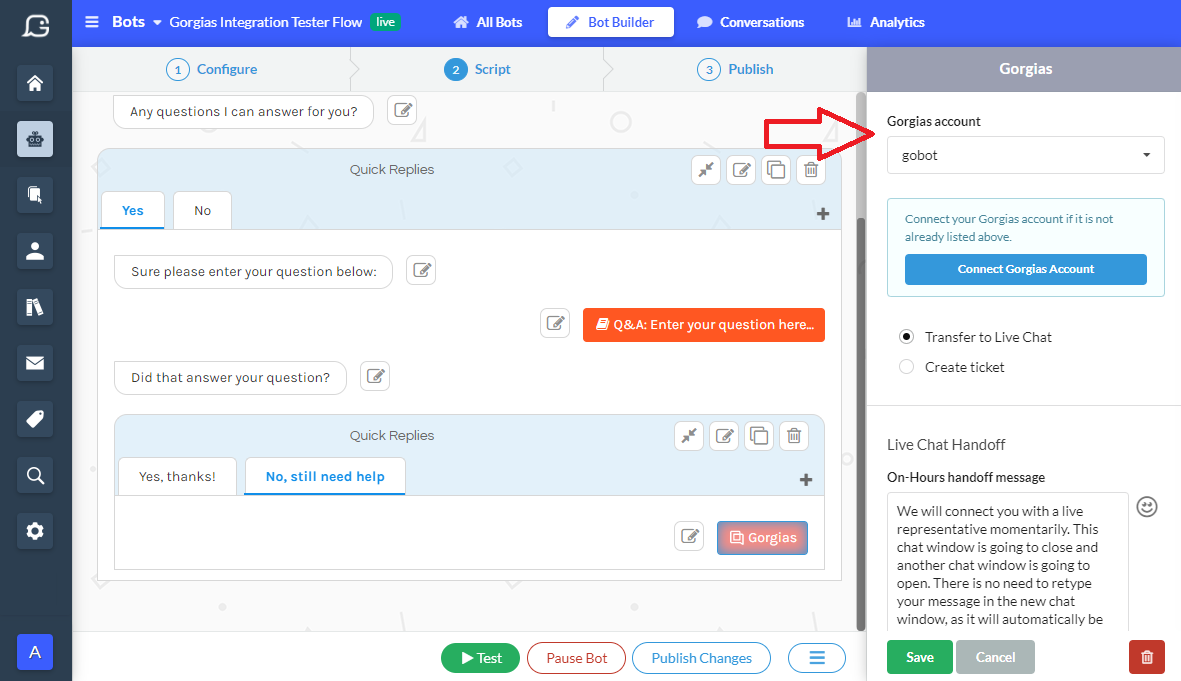
6. In the right-hand Gorgias settings panel, select your Gorgias account, ticket creation method (live Chat vs. email), edit your Live Chat Handoff messages if desired, select your Support email address, and add a Ticket subject line (if using email ticket creation).
7. Click Save and then click Publish Changes towards the bottom right-hand section of the bot builder.
