RetentlyUpdated 6 months ago
Retently is a tool for measuring and improving customer satisfaction and loyalty through Net Promoter Score surveys and feedback collection. With Retently businesses can collect customer feedback and analyze results through advanced analytics and reports in order to take corrective action.
Send event-based CSAT, NPS, or CES email surveys when a ticket is updated or closed in Gorgias, and export survey responses back to Gorgias as customer properties.
Steps
Connect the integration
1. Go to Settings -> App Store -> All Apps.
2. Find 'Retently' on the list and click on it.
3. Click on the 'Connect App' button.
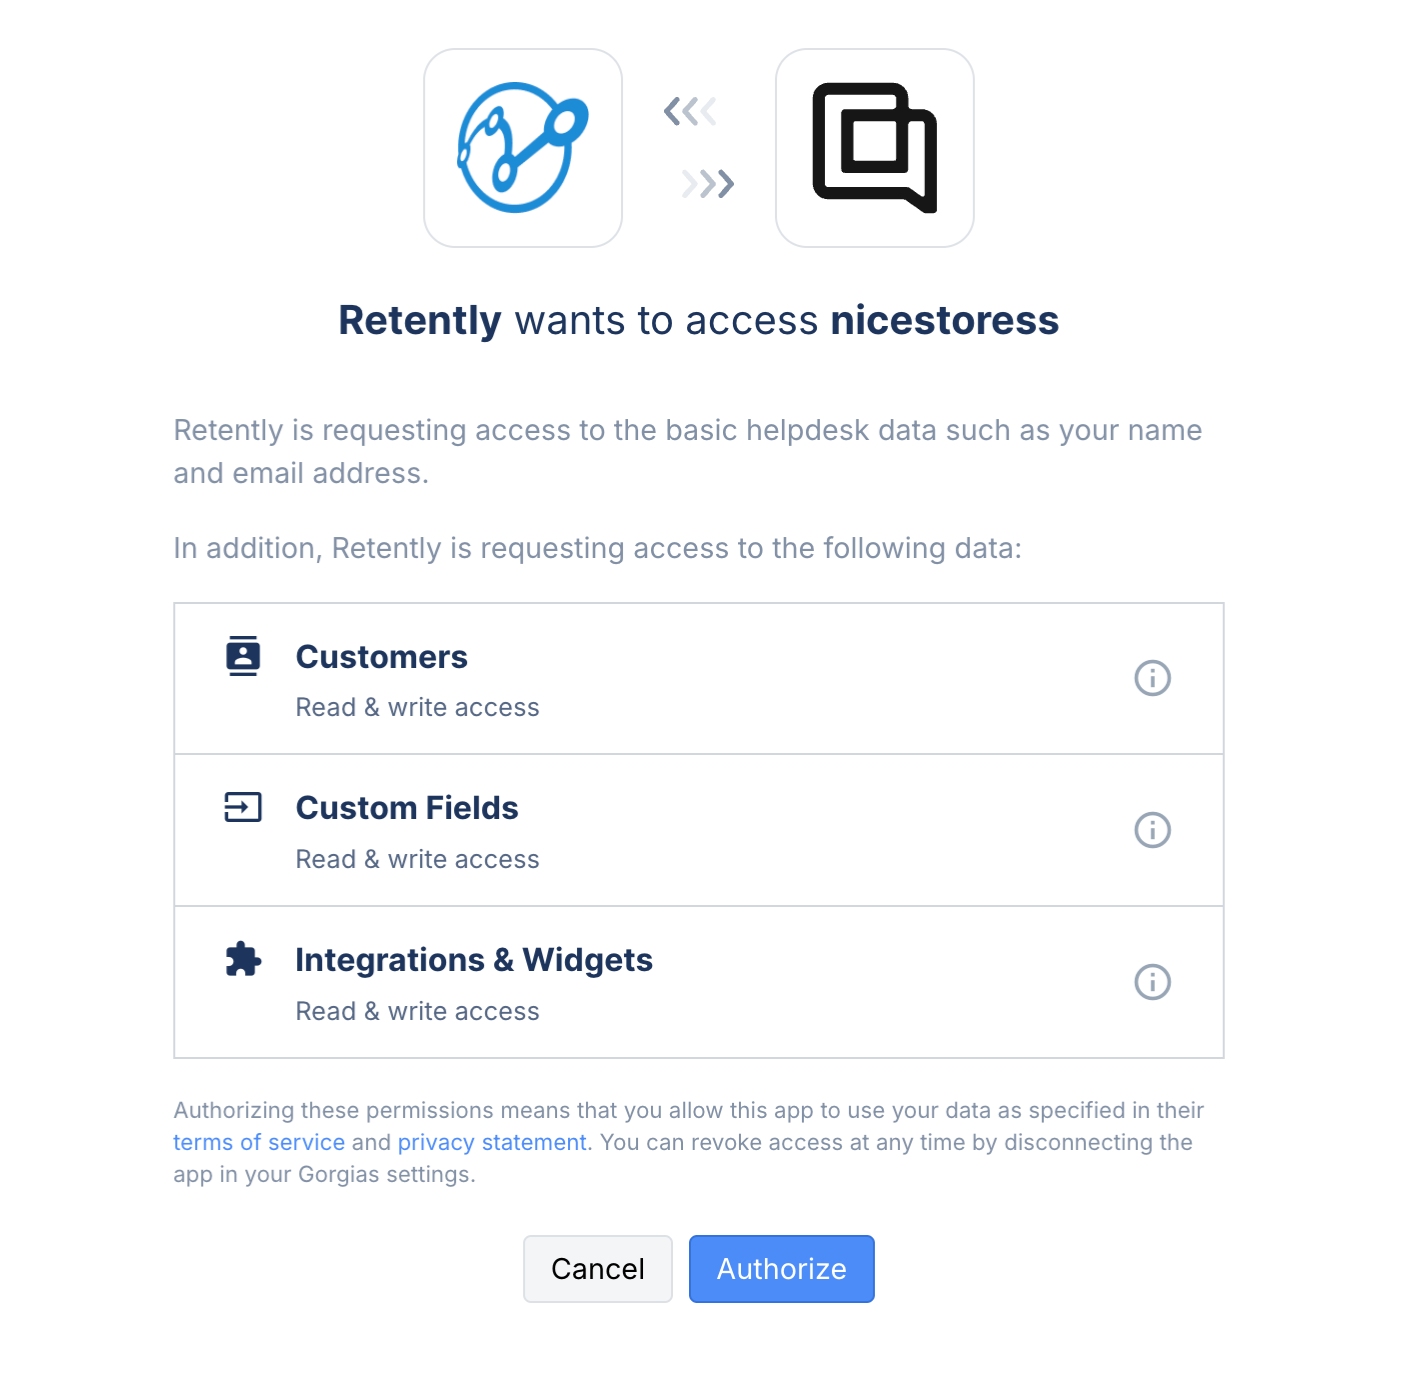
4. Authorize the app once prompted.
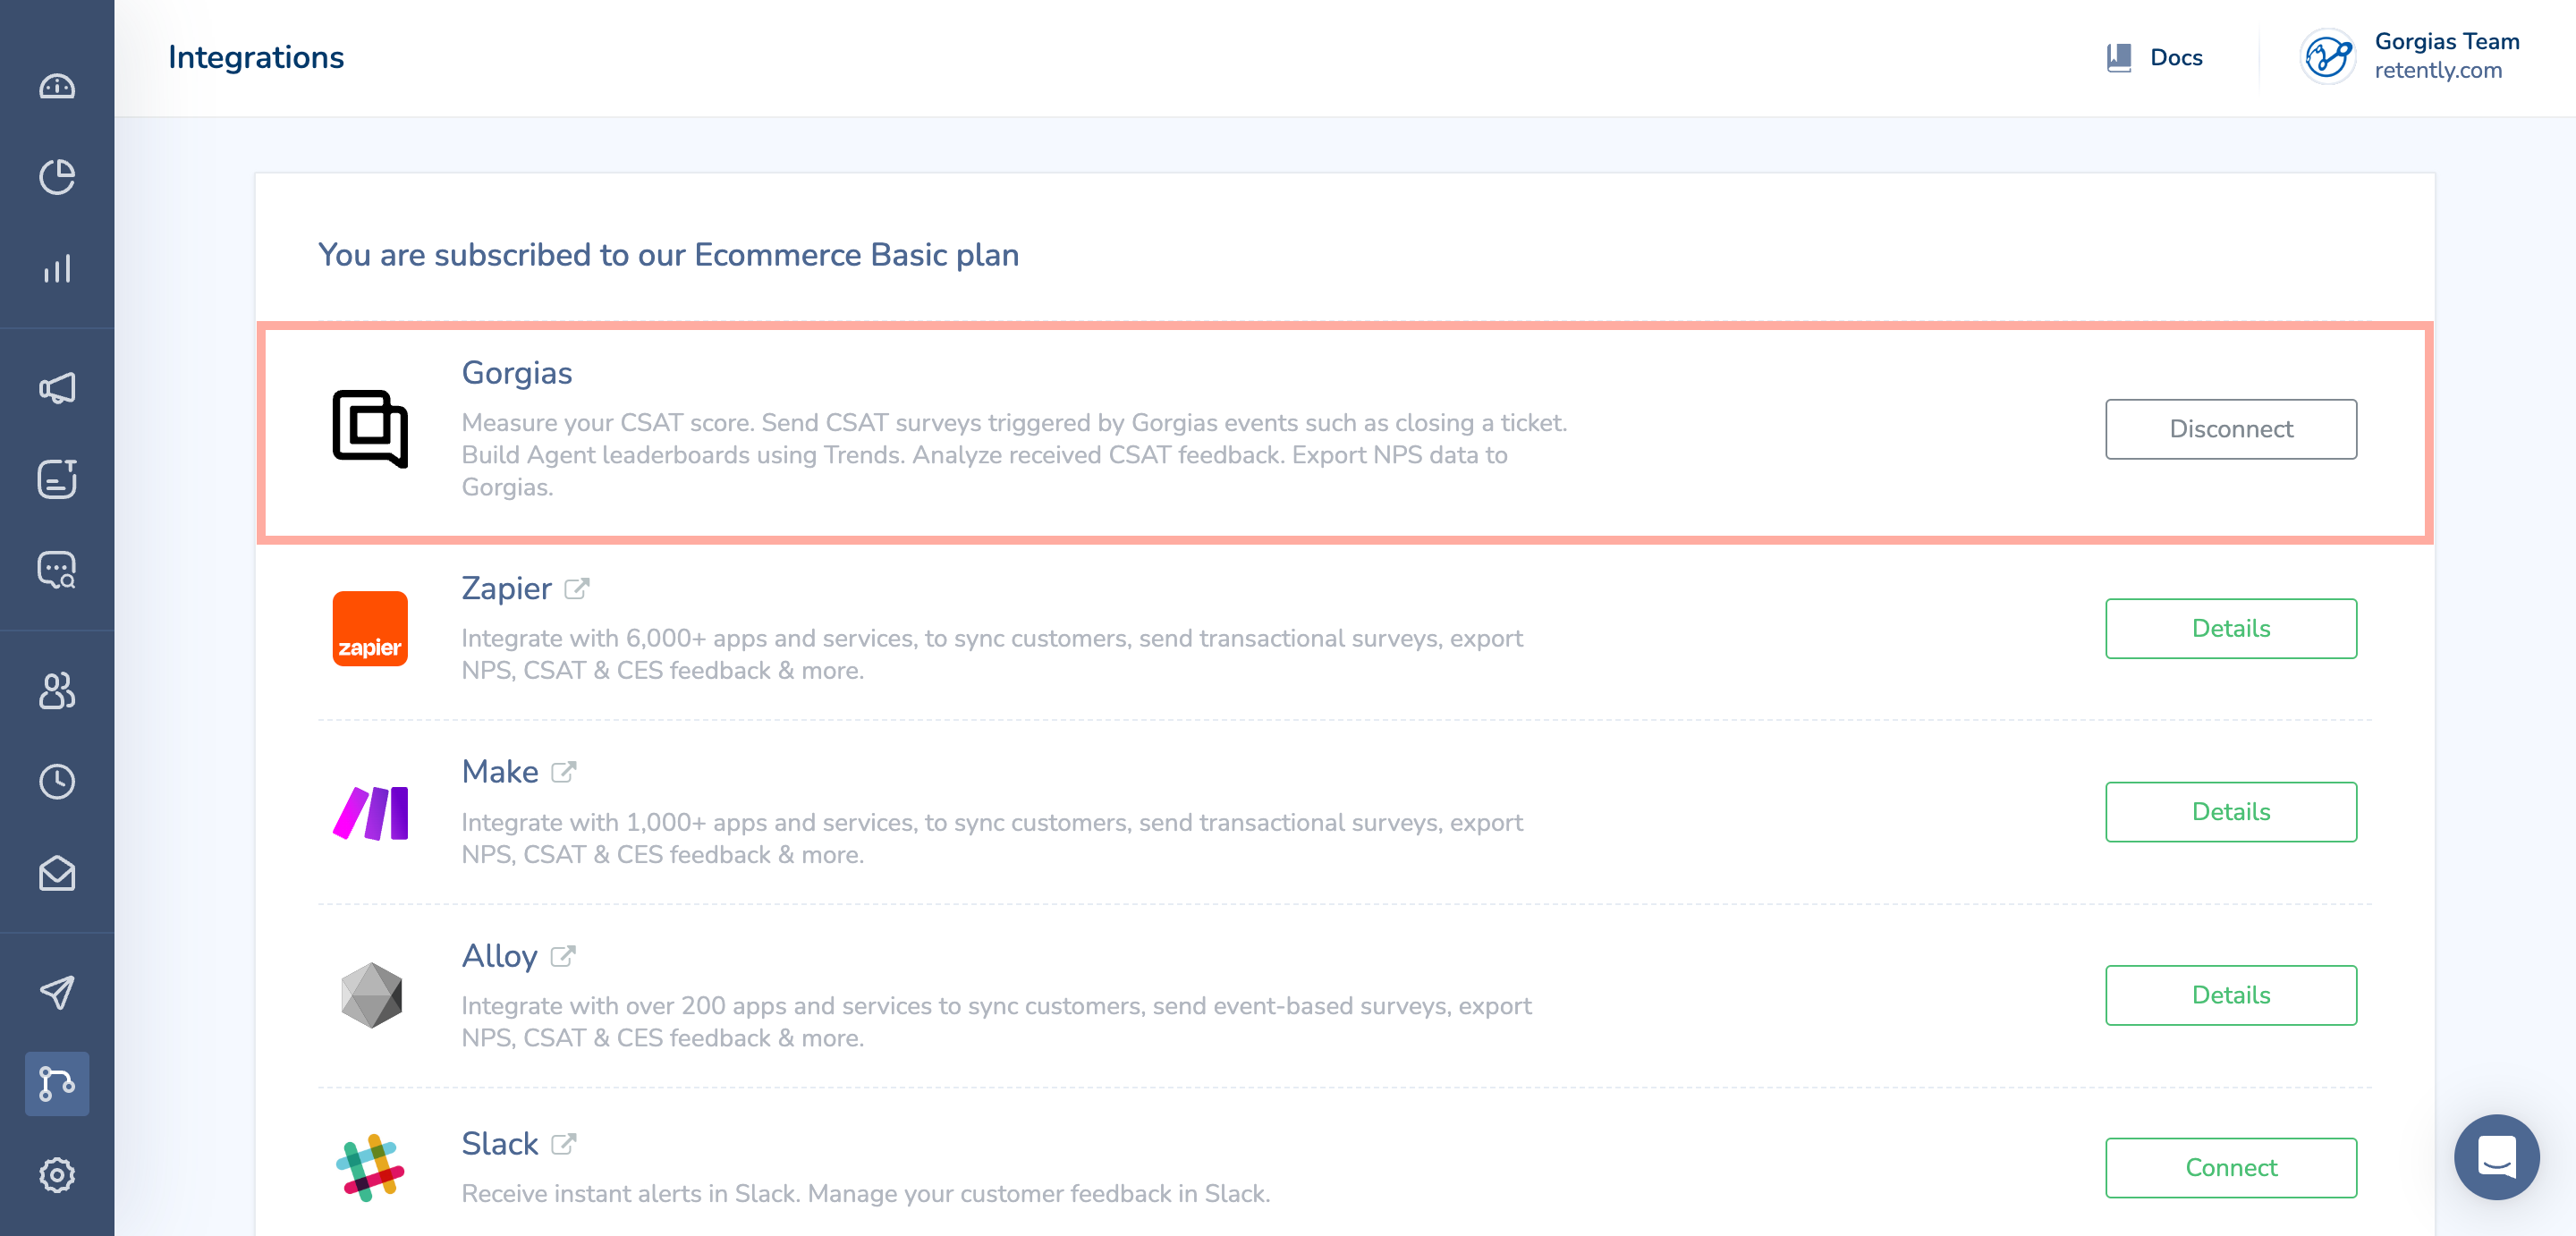
5. Once approved, you will find Gorgias connected in Retently under Integrations:
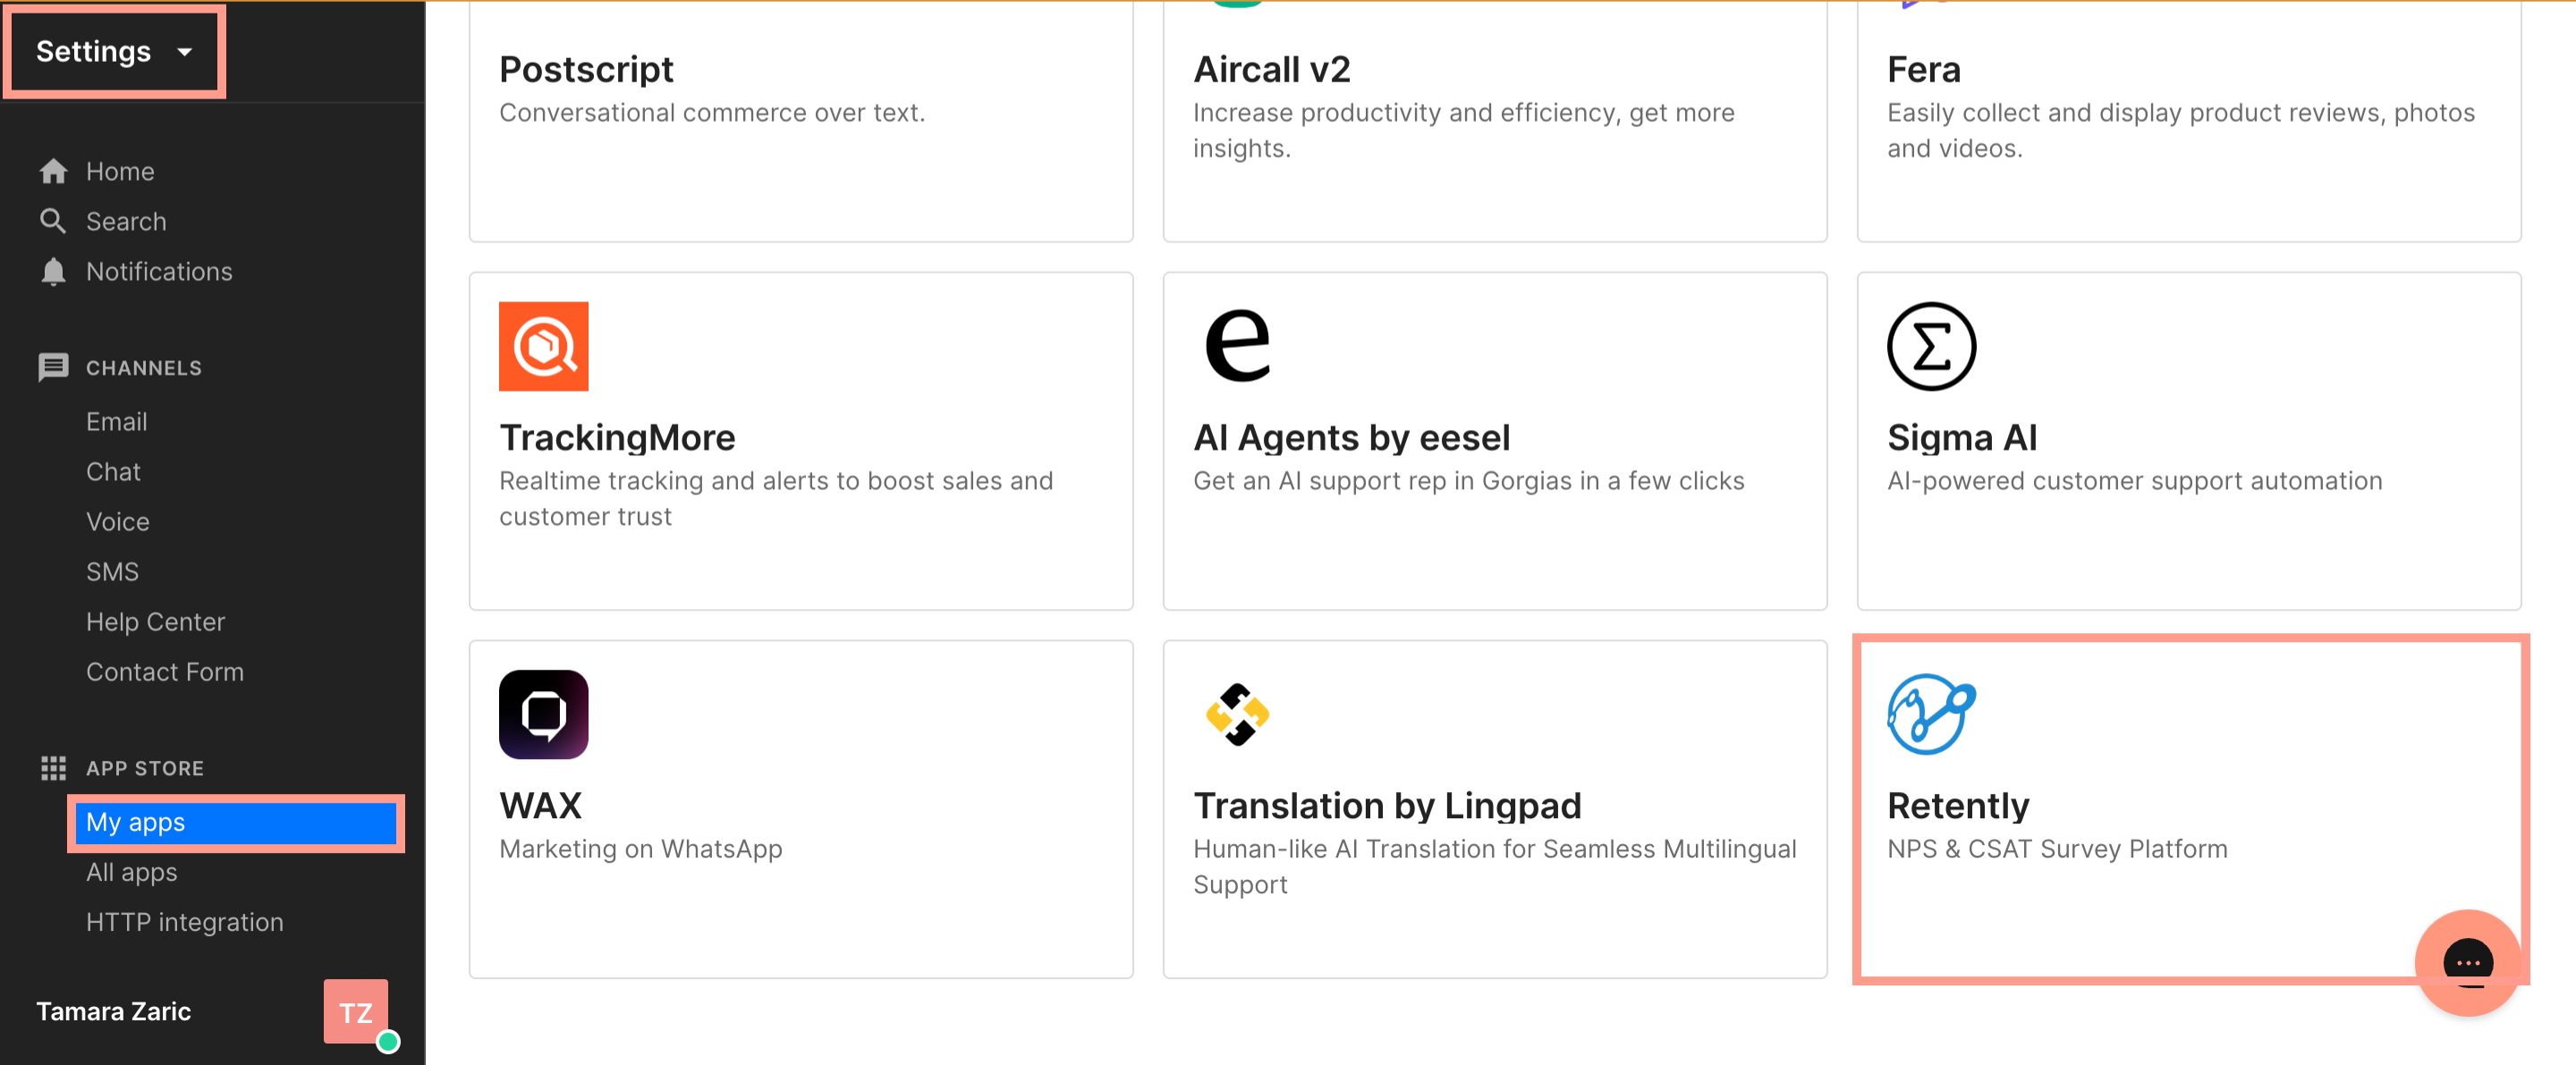
6. In Gorgias, you will find the app connected on the path Settings → App Store → My Apps:
Set up a transactional email campaign in Retently
The transactional email campaign gives you the possibility to survey your contacts based on events triggered in your Gorgias helpdesk.
One of the most common scenarios is to send a survey after a Ticket is marked as 'Closed' in Gorgias, but you can set up one or more triggers for automation to fit your business goals.
1. Create a new campaign
Go to the Campaigns page, choose a survey metric (NPS, CSAT, CES, 5-STAR), then select 'Email' as your survey channel, and from the dropdown list with campaign types select the 'Transactional' option.
2. Assign a survey template
In the campaign editor, start with choosing the survey template that your contacts, who match this campaign, will receive in their inbox. You can select an existing email template, or create and customize a new one.
Make sure the survey template has your company’s logo, otherwise, you won't be able to select and use it. When everything looks good, click the 'Assign' button to add it as the main survey template in your campaign.
4. Filter your audience
As a rule, your campaign audience will be defined by the Gorgias event and only the contacts that trigger the event will be surveyed by this campaign. However, you can apply an additional layer of filters to narrow down your audience.
Let’s assume that you have a Gorgias trigger that is fired when a Ticket is closed (not snoozed), and you are also storing the country of your contacts as a Tag. This would allow you to add extra filters in Retently and survey only the contacts that live in a particular country.
In most cases, there's no need to adjust the audience filters at all but, if you have to, we recommend checking this article to learn more about audience segmentation in campaigns. Or, you can request assistance from the Retently Support Team directly.
5. Edit the survey schedule
The first thing to do in the Trigger section is to specify how and when your surveys will be triggered. Since we're configuring this campaign for Gorgias, choose 'Gorgias' from the drop-down menu.
Next, you'll have three options that will help you configure how and when your surveys will be sent to your campaign’s audience:
- Sample audience - Choose what percentage of the triggered events will result in a survey being sent. When switched off, all triggered events will result in a survey.
- Delay survey - Send the survey at a later date/time from the triggered event. When switched off, the survey will be sent immediately.
- Throttle survey - Throttle helps avoid over-surveying customers. If a customer has been surveyed recently in this campaign, then any new triggered surveys will be discarded until a specific number of days have passed since the last survey was received. When switched off, customers will be surveyed in this campaign every time they trigger an event. This option won’t affect the schedule of other campaigns.
6. Reminders
Reminders will help increase your survey response rate. For instance, if a contact doesn't respond to your survey within three days after opening it, the system can send them a reminder.
This way, you will be reaching your contacts once more when they might be more likely to answer the survey.
7. Notifications
In the Notifications section, you can create custom notifications and keep track of your progress.
When creating a new notification you will be asked to choose one or more event types you want to be notified about, the notification frequency (immediately, daily, or weekly digest), and the channel (email or Slack).
Don't forget to save your notifications and make sure they're enabled!
8. Autoresponders
In this section, you can create a set of email auto-responders meant to engage with contacts who didn't leave any text feedback, left a detractor score, or simply ask promoters to leave their reviews on specific platforms and spread word-of-mouth.
Autoresponders will be sent to respondents with a random delay between 5 and 60 minutes from the moment they've answered the survey.
9. Webhooks
Webhooks allow you to send HTTP requests to another web application every time an event is triggered, be it new feedback, a bounced survey, or an unsubscribed contact.
Don't forget to save each created webhook and make sure they're enabled.10. Setup
In the Setup section, you'll find a unique webhook link that will be used to receive contact data from Gorgias and trigger the transactional survey. Make sure to keep this link handy because you'll need it soon when configuring the Gorgias event.
11. Activating your campaign
The final step is to activate the transactional email campaign by switching the toggle button on.
Please keep in mind that no surveys will be sent yet, because we've yet to connect the campaign to a Gorgias event. So, please move on to the next section!
Set up a Gorgias HTTP integration to trigger a survey in Retently
HTTP integrations let you notify external systems about a Ticket Status change. In this case, we'll create an HTTP integration containing the Retently webhook link. Therefore, whenever an event is triggered, the notification will go through the webhook link and trigger the transactional survey in Retently.
1. Go to Settings -> App Store -> HTTP Integration.
2. Click on Add HTTP Integration.
3. In the integration builder, give it a name and description (optional).
4. Next, configure the rest of the fields as described below:
- Triggers: Choose the Ticket Updated trigger.
- URL: Add the Retently webhook link from the campaign's Trigger or Setup sections.
- HTTP Method: Choose POST.
- Request content type: Choose application/json.
- Response content type: Choose application/json.
- Headers: No need to add any headers.
- Request Body (JSON): Choose JSON template.
Your setup should look like this once completed:
The next part is related to choosing what contact data you'll send to Retently when a Ticket is updated.
5. When you select 'JSON template' in the Request body field, additional text input appears.
In this area, you have to specify what data will be sent to Retently when your Gorgias trigger is activated.
By default, Retently will accept the following data:
- Contact's email address
- Contact's full name
- Ticket Tags (which will be assigned as contact tags in Retently)
To pass this data to Retently, make sure the text area looks like this (you can copy the JSON code below):
1{2 "email": "{{ticket.customer.email}}",3 "full_name": "{{ticket.customer.name}}",4 "tags": "{{ticket.tags}}"5}
However, there's a set of other properties that you can import to Retently along with your contact when a ticket is updated, specifically:
- Source
- Ticket ID
- Customer ID
- Assignee Name
- Assignee Email
- Ticket Channel
- Ticket Subject
- Ticket Created Time
We recommend adding the Assignee Email or Name field so the surveys aren't triggered for tickets without any agent response, in case you're using a closed ticket trigger.
6. If you need to send one or more of these properties to Retently, you'll need to create them in Retently first. In your Retently account, access the Attributes page.
7. To create a new one, click the 'Create property' button.
A popup will ask you to write the name of the new property and choose the type of value that'll be stored in the new property. Use the following:
- source (property type: text)
- ticket_id (property type: text)
- customer_id (property type: text)
- assignee_name (property type: text)
- assignee_email (property type: text)
- ticket_channel (property type: text)
- ticket_subject (property type: text)
- ticket_status (property type: text)ticket_snooze_date
- ticket_snooze_date (property type: text)
- ticket_created_time (property type: date)
8. Once you've created the property or properties, you can go back to your Gorgias HTTP integration, and add the new properties in the Request body field - each property should have a corresponding Gorgias variable assigned.
You can copy the whole JSON with variables (or only the needed properties) here:
1{2 "email": "{{ticket.customer.email}}",3 "full_name": "{{ticket.customer.name}}",4 "tags": "{{ticket.tags}}",5 "source": "Gorgias",6 "ticket_id": "{{ticket.id}}",7 "ticket_status": "{{ticket.status}}",8 "customer_id": "{{ticket.customer.id}}",9 "assignee_name": "{{ticket.assignee_user.name}}",10 "assignee_email": "{{ticket.assignee_user.email}}",11 "ticket_channel": "{{ticket.channel}}",12 "ticket_subject": "{{ticket.subject}}",13 "ticket_snooze_date": "{{ticket.snooze_datetime}}",14 "ticket_created_time": "{{ticket.created_datetime}}"15}
From the properties listed above, only the email address is mandatory - the other properties are optional and you can delete them from the text area if needed.
9. Save your Gorgias HTTP integration, and click the 'Activate (or Re-activate) integration' button to start tracking Ticket updates and trigger surveys in Retently.
Avoid over surveying
To avoid over-surveying your audience, you can use one trigger at a time.
Alternatively, you can activate survey throttling - if you need to have multiple triggers activated, then we suggest activating the throttle option within your Retently campaign's Trigger section.
The throttle will ensure that a customer is surveyed only once within a specific time range. Even if multiple triggers are fired, only the first one will trigger the survey in Retently, while the other ones will be dismissed.
Track the ticket status
In the case of CX surveys, usually, you'd need to send a survey when the Ticket is closed.
To achieve this, you'll need to make sure to pass the {{ticket.status}} property with your Gorgias HTTP request and, if your workflow requires you to snooze Tickets (in Gorgias a snooze is equated to a close), you'll need to pass on the {{ticket.snooze_datetime}} property as well.
This will give you the possibility to filter your campaign's audience by adding an extra layer of rules: ticket_status -> is -> closed and ticket_snooze_date -> does not exist.
You can also trigger the survey when a specific Tag is assigned to the Ticket. For example, you can create a new Ticket Tag in Gorgias - survey - and add it to a Ticket when you need to trigger the survey.
To make sure that in Retently only contacts with the survey Tag will receive a survey, go to your campaign's Audience section and add the following audience rule: Customer Tag -> is -> survey.
Limitations
- Please keep in mind that the integration with Retently currently supports Shopify and Shopify Plus merchants only.
