Create a ticketUpdated 5 months ago
A ticket is a customer's request raised to seek help in resolving issues concerning services, and products, or to respond to any questions they might have.
The ticket could be raised via any of your support channels (Email, Chat, social media, SMS, etc) or created from scratch by an agent on behalf of the customer.
Steps
To create a ticket from scratch, please follow the steps below:
1. Click Create Ticket in the left-hand side dashboard.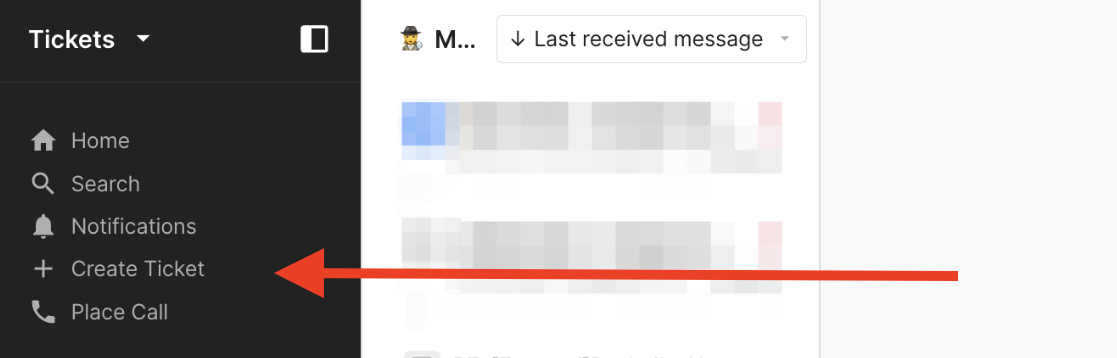
2. Set the ticket subject.
3. Enter the email address(s) of the recipient.
4. Select the email address you want to send your email from.
5. Type your message or apply a Macro.
6. Click on Send or Send & Close if you wish to close the ticket right after your message has been sent.
Ticket Draft
If you exit a ticket accidentally or close it out before sending your reply, your message will be saved and you can see it when you open the ticket again.
When you want to continue your Draft, simply click Create Ticket in the left sidebar, and choose whether you wish to continue your draft, or create a brand new ticket.
