Loop ReturnsUpdated 6 months ago
Loop allows Shopify brands to automate their entire returns process, including exchanges. With Loop and Gorgias, you can allow customers to manage returns themselves through the return portal, streamlining processes and saving time and effort.
Stay focused and close tickets faster by viewing refund status, shipping status, return reasons, and more in the same window you use to talk to customers. You can also navigate directly to your Loop return portal from your helpdesk for faster processing.
Check out our interactive demo to see it in action:
Steps
1. Go to Settings -> App Store -> All Apps.
2. Search for Loop and click on it.
3. Click on the Connect App button.
4. Authorize the app.
The Loop Returns portal places the Gorgias Chat at the bottom left side by default, as many merchants have side cart drawers that pop out on the right, which would cover the Gorgias Chat - it isn't possible to customize that via any script.
Test the integration
Test your integration to confirm data flows correctly from Loop to Gorgias. To do that, you'll trigger the HTTP integration with a shopper with an existing Exchange request in Loop.
1. Navigate to the Loop Admin under the Returns tab and click on an existing Exchange request.
2. Copy the customer’s email address.
3. Head back to your helpdesk, click Search on the left, paste the customer's email address, then click Customers and press enter.
4. Click the customer profile.
5. Inside the customer profile, click Create Ticket.
6. Leave an internal note in the newly created ticket that says "Loop Integration Activation" - this will activate your integration, as it corresponds to one of the trigger events in the integration setup.
7. Click the cog button in the upper right corner.
8. Scroll down to HTTP Data to find Loop Returns.
9. Drag and drop the Loop Returns box to the right side of your widgets column.
Format the Loop widget
Edit your Loop Returns widget to display the information most valuable to you and add smart hyperlinks to quickly navigate between Gorgias and Loop.
1. Edit the widget title by clicking the Settings wheel next to the HTTP Title.
2. Enter the following information and click Submit:
- Title: Loop Returns
- Link: https://STORENAME.loopreturns.com/#/
Make sure that the link corresponds to your store's customer return portal(e.g.,e https://gorgias-store.loopreturns.com/. This will create a direct link to your customer return portal from Gorgias.
3. Delete the section Query by hovering over the section and clicking the red cross - this section includes data already available in your helpdesk.
4. Scroll down to the section Data (list), hover over the section, and click the Settings wheel to edit the title and link of the section.
5. Enter the information exactly as follows, and click Submit:
- Title: Return {{order_name}}: {{state}}
- Link: https://admin.loopreturns.com/returns/{{id}}
This will create a direct link to the request's details in the Loop admin for any return you view in Gorgias.
6. On the Returns section, you can edit and organize all relevant fields.
You can click on a field to edit the Name and Type, changing how the data is displayed. Below is the recommended list of fields, in order (* means it's optional):
| Field | Type |
|---|---|
| Created at | Date |
| Label Status | Text |
| Label Updated At | Date |
| Carrier | Text |
| Tracking Number | Text |
| Return Status | Text |
| Updated At | Date |
| Return Product Total* | Text |
| Return Discount Total* | Text |
| Return Tax Total* | Text |
| Return Total | Text |
| Handling Fee | Text |
| Refund | Text |
| Gift Card | Text |
| Exchange Product Total* | Text |
| Exchange Discount Total* | Text |
| Upsell* | Text |
| Exchange Total | Text |
6. Edit the Exchanges (list) section by clicking the Settings wheel - this section corresponds to items being received by the customer.
7. Use the Title Exchanged Items and leave the link empty.
8. Add the fields useful to you for exchanged items - we recommend the following fields, in order:
| Field | Type |
|---|---|
| Title | Text |
| Product ID | Text |
| Variant ID | Text |
| SKU | Text |
| Price | Text |
| Discount | Text |
| Tax | Text |
| Total | Text |
9. Edit the line_items (list) section by clicking the Settings wheel - this section corresponds to items being returned to you.
10. Use the title Return Items, and leave the link empty.
It’s recommended to drag the Return Items section above the Exchange Items section in your widget.
11. In the Return Items section, add the fields that are useful to you for returned items - we recommend the following, in order:
| Field | Type |
|---|---|
| Title | Text |
| Product ID | Text |
| Variant ID | Text |
| SKU | Text |
| Parent Return Reason | Text |
| Return Reason | Text |
| Price | Text |
| Discount | Text |
| Tax | Text |
| Refund | Text |
Macro Variables
You can create Loop Macro variables similarly to how you would create Shopify variables:
1. Open your widgets section by clicking on the gear icon at the top right corner of a ticket.
3. Scroll down to your Loop Returns widget.
3. Open a text editor to write the following pieces of info down:
- Your integration's number, which can be found in the URL on your Loop Returns integration page, as shown below:

- Check out the following variable: {{ticket.customer.integrations[integration id].widget name}}
Here, the integration id would be the one you saved from the URL, and the widget name would be the one of your choosing from the widget page. - For example: your integration ID is 80326, just like in the screenshot above, and you want to use the widget from the screenshot below:
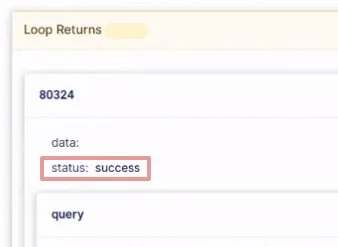 In that case, your variable will look something like this: {{ticket.customer.integrations[80324].status}}
 - If you wish to create a variable that will pull up the customer's 'Return Status Page', use this variable: {{ticket.customer.integrations[integrationid].data[0].status_page_url}}
You can use Loop Returns with your Order Management.
The current version of the Loop Integration will update return data when the following trigger events happen in Gorgias: a ticket is created, a ticket is updated, or a ticket is responded to.
To update your returns data manually, simply add an internal note on any open or closed ticket that says "Update" - this will refresh your returns data with the most up-to-date information.
Connecting multiple Loop Returns accounts to a single Gorgias account
In order to integrate a second (and any subsequent) account, add it as an HTTP Integration:
Copy the setup of the original HTTP Integration that was automatically created when Loop was first installed, with the exception of the API Key: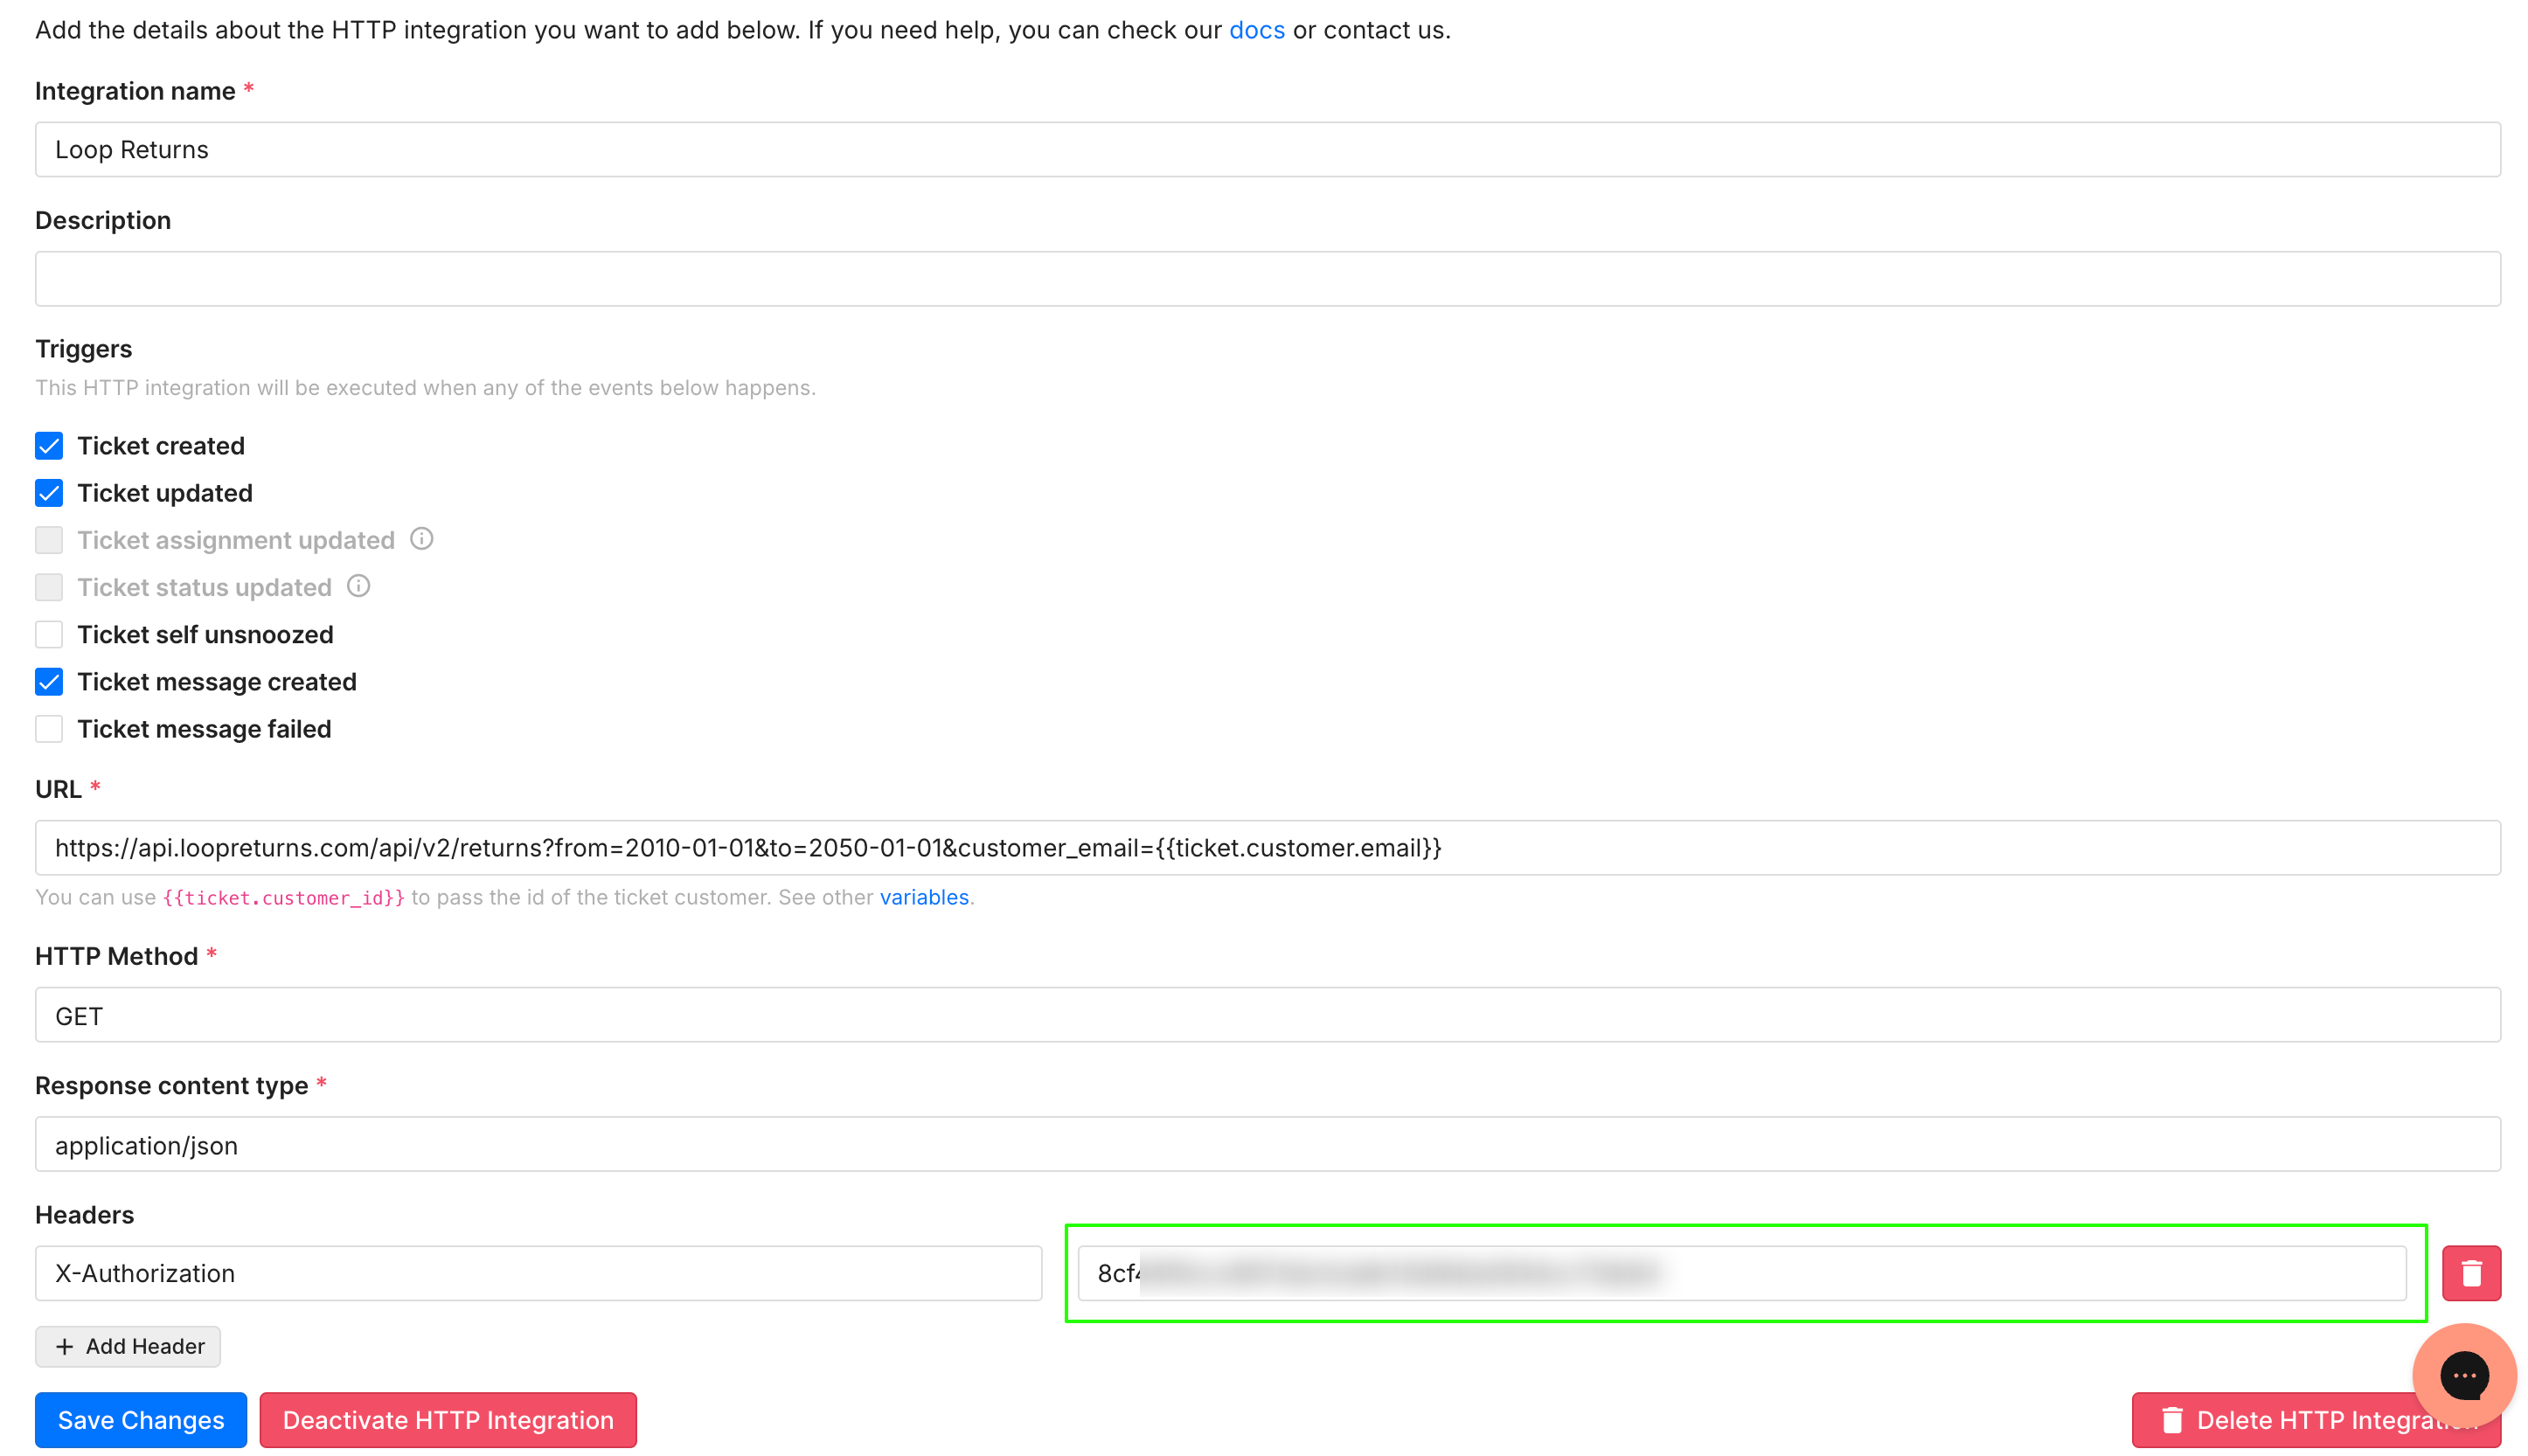
In order to obtain a new API Key, open your Loop Returns account and go to Tools & integrations -> Developer tools -> Generate API key:
You will then see a window where you can select the desired options. Be sure to enter a name as well, otherwise, you won't be able to generate the key. Once generated, the newest key will be at the bottom of that page:
Finally, input that key into the newly created HTTP integration in Gorgias, in the empty field at the bottom of the integration page:
