Macros: Create and manage macrosUpdated a day ago
Macros enable your agents to respond to customers and take actions on tickets in a single click. You can create macros that populate custom, standardized responses into the message composer, and take actions on tickets when applied. If you connected a Shopify store to Gorgias, macros can be used to duplicate, cancel, refund, and edit orders.
Requirements
- Available on all Helpdesk plans
- The account owner, admins and leads can create and manage macros
- Everyone can apply a macro to a ticket
- Shopify order actions are only available when you connect a Shopify store
Create macros from scratch
To help you get started, Gorgias provides every helpdesk with two default macros: Generic: How can I help? and Generic: Sign off. When you connect a Shopify store, we'll generate some additional default macros that include Shopify actions and variables. If you'd like to build your own, you can create a macro from scratch or duplicate an existing one and edit it.
Create a macro
- From your helpdesk, click the dropdown menu in the top-left corner.
- Select Workflows.
- In the menu, locate Tools, then select Macros.
- Click Create macro in the top right.
- Enter a Macro name.
- Type your pre-written response in the Response text section.
- Optionally, add tags to the ticket under Add tags to ticket.
- If you'd like, add macro actions under the reply field — for example, editing a Shopify order or changing ticket status.
- Click Create macro.
Manage existing macros
All macros are accessible from Workflows → Tools → Macros. From this page you can create, edit, duplicate, and delete macros, and monitor usage across your team.
The macro list is sorted by creation date (oldest first) by default. Click any column header to change the sort order.
Edit or duplicate a macro
To edit a macro, select it from the macro list. To create a variation of an existing macro without starting from scratch, use the duplicate option.
- From your helpdesk, click the dropdown menu in the top-left corner.
- Select Workflows.
- In the menu, locate Tools, then select Macros.
- To edit: click the macro name to open it, make your changes, then click Save changes.
- To duplicate: hover over the macro row and click the Duplicate icon. A copy will be created which you can then edit and save.
Archive or delete a macro
Hover over any macro row to reveal the row actions. You can archive a macro to remove it from active use while keeping it recoverable, or delete it permanently.
- From your helpdesk, click the dropdown menu in the top-left corner.
- Select Workflows.
- In the menu, locate Tools, then select Macros.
- Hover over the macro row to reveal the row actions.
- Click the Archive icon to archive the macro, or the Delete icon to permanently remove it.
FAQs
If I have multiple support email addresses integrated and I have the Apply Macro Action set in my Rules, which email address will be used in the From field?
When the Macro is used in bulk, it'll behave the same way as if an agent sent the message on their own while responding to tickets.
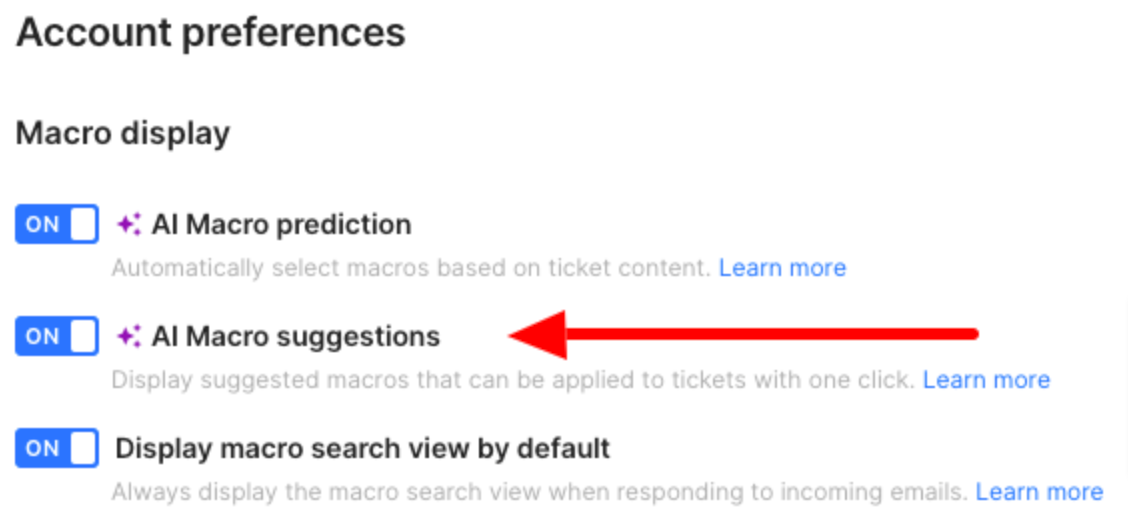
How can I disable Macro suggestions?
You can disable Macro suggestions by clicking on your user avatar in the bottom left corner and then clicking on Your Profile. There, you'll have the option to disable/enable Macro suggestions, under Account preferences.
Can a note be added to the customer's Shopify profile without creating a ticket?
It can be easily created using a webhook. Since the note can't be directly added to a customer's Shopify profile, the Edit last order's note Macro Action is used for this - this Macro should be used in an internal note and not a separate reply.
Why can't I create/update a Macro? The system is coming up with an error.
You may have reached the Macro limit of 5000 Macros or, for example, if you set up your Macro to add certain Tags and leave the tags field empty, the system will come up with an error and won't let you save until the field is filled.
How are Macro recommendations made?
Recommendations are based on a mix of machine learning (using text similarities, and text classification) and usage frequency.
How do we exempt a Macro that's rarely used from Macro recommendations?
This is a recommender system (like a Google search page), so it'll always recommend something - we're waiting to gather usage information once the Macros are in the editor to display certain ones or not.
Can we restore deleted Macros?
No - once deleted, a Macro is permanently removed from the account. A good practice would be to export any (or all) Macros before deleting them, just in case.
