Create a Help Center Contact FormUpdated 5 months ago
You can set up a Contact Form on your Help Center and manage all submissions directly in the helpdesk as Email tickets. The subject lines can be customized - add more, change their titles, and rearrange their order.
For the Contact Form to generate a ticket in your helpdesk, your customers will need to leave their Full name, a Subject, their Email, and a Message in it. When the form is submitted, it'll open a new ticket in Gorgias with the channel set as help-center.
Steps
Add the form to your Help Center
1. Go to Settings → Channels -> Help Center → your Help Center → Contact.
2. Toggle the Contact form card ON and, if you want, edit the description.
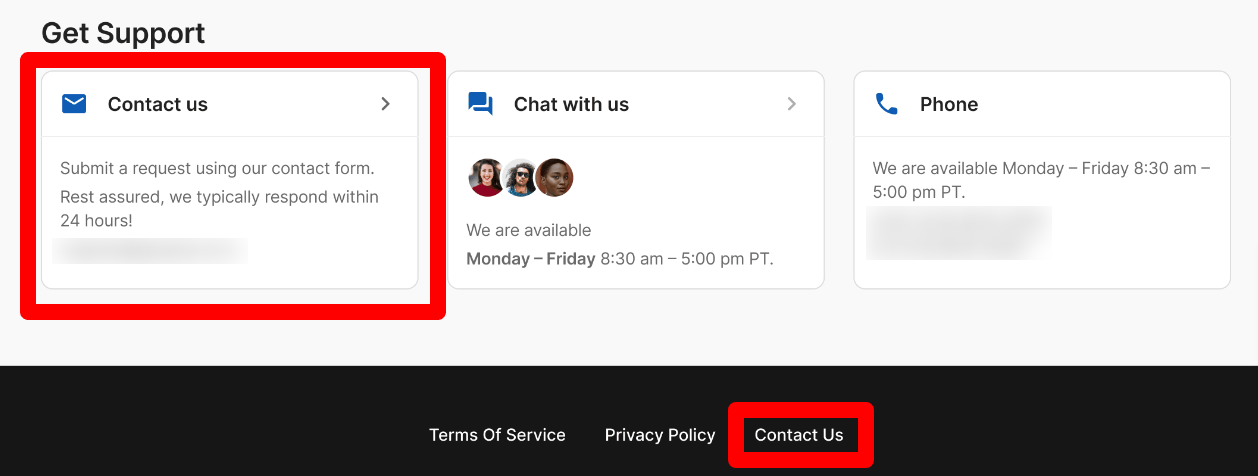
After this, you'll notice a few changes to your Help Center - the footer in your contact section will have a Contact Us card so when your customers click on the Email card, they'll be taken to a new page where they can submit a form.
Add the form to your store
You can add the standalone Contact Form to your store in 2 ways, and you need to log into your website builder (Shopify, BigCommerce, Magento) to complete this step.
Use the URL of the page
Once the Contact Form is set up you can access it by adding /contact to your Help Center URL.
1. Go to Settings → Help Center → your Help Center.
2. Click on View Help Center in the top right.
3. Use the URL of the page to embed a link to the form directly on your website (for example https://<your help center subdomain>.gorgias.help/contact) by embedding it somewhere via your website builder.
Add a standalone Contact Form
Check out our dedicated section for the standalone Contact Form.
Limitations
- The free text field for the first name is limited to 100 characters
- The email address left in the email field has to be a valid one and the field is limited to 100 characters
- The message field is limited to 5000 characters
- Supported file formats are:
Image: .gif, .jpeg, .jpg, .png, .svg, .webp, .bmp, .tif, .tiff, .heic
Video: .3gpp, .mp4, .mov, .avi, .wmv, .webm
Docs: .pdf, .csv, .txt, .rtf, .doc, .docx, .xls, .xlsx, .ppt, .pptx, .ods, .tsv, .odt, .odm, .odp
Archive: .rar, .zip
