Gorgias logo
Gorgias logo

All articles

Standalone Contact FormUpdated a month ago

Introduction 

The standalone contact form allows greater flexibility for merchants. You can embed it onto your website or share the link directly with your customers. 

It also offers several advanced features, such as built-in spam protection, the ability to attach multiple files, and customizable subject lines.

  • In contrast:
    • Using an email link on the website directly causes exposure to spam, using a contact form can drastically reduce this.
    • The Shopify/BigCommerce default contact form is very basic in functionalities.
    • A contact form is a better way to structure your shopper questions before they reach your inbox. More standardization in information collections means it is easier for you to start automating.
  • Our standalone contact form offers much better features, for free.
  • It is natively integrated with your helpdesk, which means it is synced with your customer database, the rules you set up to auto-tag, auto-assign, or auto-respond also apply to tickets created via the standalone contact form!

Setup Instructions

Setting up your new standalone contact form is easier than ever!

  1. Navigate to the Settings tab → Channels → Contact form:
  2. From there, click Create Form:
  3. The next step is choosing a name for your form, its language, and lastly, the option to connect a Shopify store:


    Keep in mind that after you connect a store to the contact form, it cannot be changed later on, so you'll need to create a new form and connect the desired store.

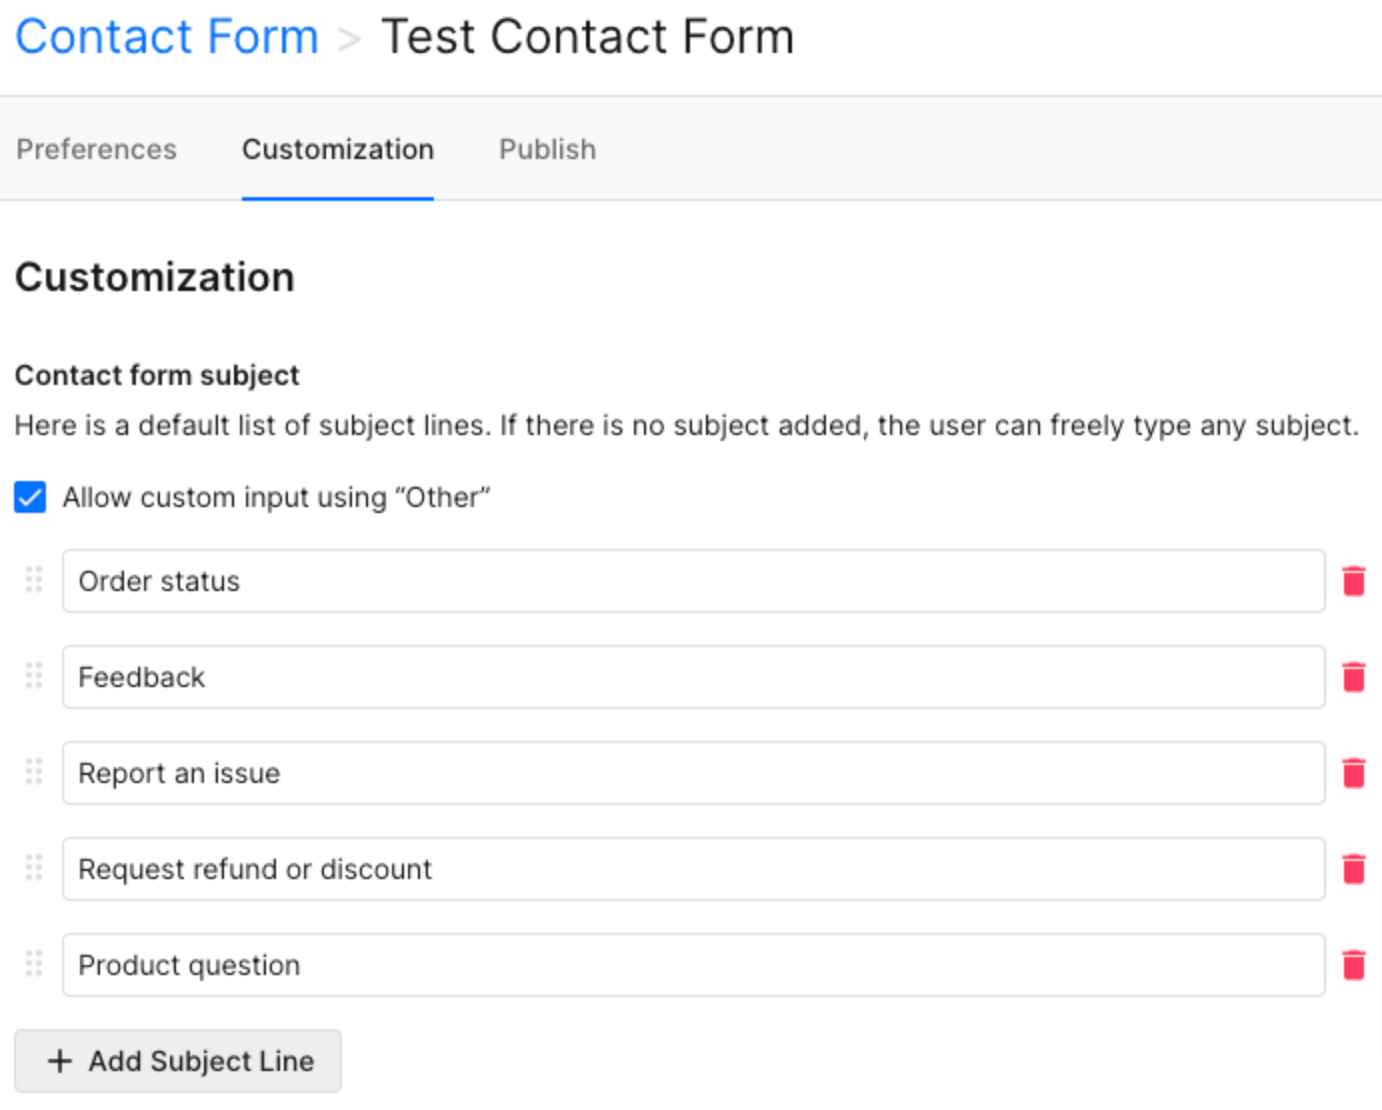
  4. The next page will allow you to choose and customize the appearance of the form, by changing the subject lines:

  5. And finally, we're ready to publish!

You can choose to publish the Gorgias contact form in 3 ways:

  • Via a direct shareable link
  • Manually embed the form on your website via HTML code
  • Auto-embed the form on your website

We recommend linking the form to the footers of your website, also replacing email links on your website with a contact form instead.

You are now free to place your contact form on any page of your website, use it alongside your Help Center, or apart. 


Auto-Embed Contact Form on your Website (Code-free)

This feature allows you to effortlessly embed a contact form that funnels directly into Gorgias. This means you'll have incoming queries transformed into organized tickets, ready for your stellar support team to tackle.


Please note this feature is available for Shopify merchants only.


This feature allows you to effortlessly embed a contact form that funnels directly into your helpdesk. This means you'll have incoming queries transformed into organized tickets, ready for your stellar support team to tackle.

You would simply go ahead and click on Automatically embed on your website, then you will be prompted to choose whether you wish to place it on a new page on your site, or an existing one:

There, you will also choose the Page name and Slug.

Once you're done, click on Embed Form.

The form will always be visible on your Contact Form settings page so that you can change its position, view, or delete the form.

Want to add custom subjects to the contact form? No problem! If you're keen on gathering extra information via the contact form, we've got your back. 

Just set up your unique flows and add a step in the flow to gather any information that would provide your ticket with more context.


Contact Form Order Management Flows

If you are a Gorgias Automate subscriber, you will enjoy the option of enabling Order Management Flows on your Standalone Contact Form.

Pick any existing Standalone contact form in Gorgias, or create a new one by navigating to Settings -> Channels -> Contact form.

Click on Edit Automation Settings:

From there, you can toggle Order Management on, to enable them on your contact form.


Views

To see all open tickets created from your contact form, create a view by using the "Status is Open" and "Channel is Contact Form" filters:


Rules

Now you're probably wondering what's next, and how could you start automating some of the repetitive tasks away. Below, we will show you a few rule examples to help you get started: 

Auto-tag tickets submitted via contact form:

Auto-assign tickets submitted via contact form:

Auto-reply based on subject lines:

Auto-tag different contact forms:

All the subject lines of the contact form follow this format: 

[subject line] - [name of contact form/name of help center]

To use rules to differentiate the contact form tickets automatically, follow this example below:


If you have any questions, please contact us at [email protected]


Last reviewed Wed, 1 Nov 23 by Mauricio Salinas

Was this article helpful?
Yes
No