Standalone Contact FormUpdated 6 months ago
The standalone Contact Form allows for flexibility - you can embed it onto your website or share the link directly with your customers. It also offers several advanced features, such as built-in spam protection, the ability to attach multiple files, and customizable subject lines.
Some of the benefits include:
- Using an email link on the website directly causes exposure to spam - using a Contact Form can drastically reduce this.
- The Shopify/BigCommerce default contact form is very basic in functionalities.
- A Contact Form is a better way to structure your shopper questions before they reach your inbox. More standardization in information collections means it's easier for you to start automating.
- It's natively integrated with your helpdesk, which means it is synced with your customer database. The Rules you set up to auto-tag, auto-assign, or auto-respond also apply to tickets created via the standalone Contact Form.
Steps
1. Navigate to Settings → Channels → Contact Form.
2. Click on Create Contact Form in the top right corner.
3. The next step is choosing a name for your form, its default language, and connecting a Shopify store.
After you connect a store to the Contact Form, it can't be changed later on, so you'll need to create a new form and connect the desired store.
4. The next page will allow you to customize the appearance of the form by changing the subject lines.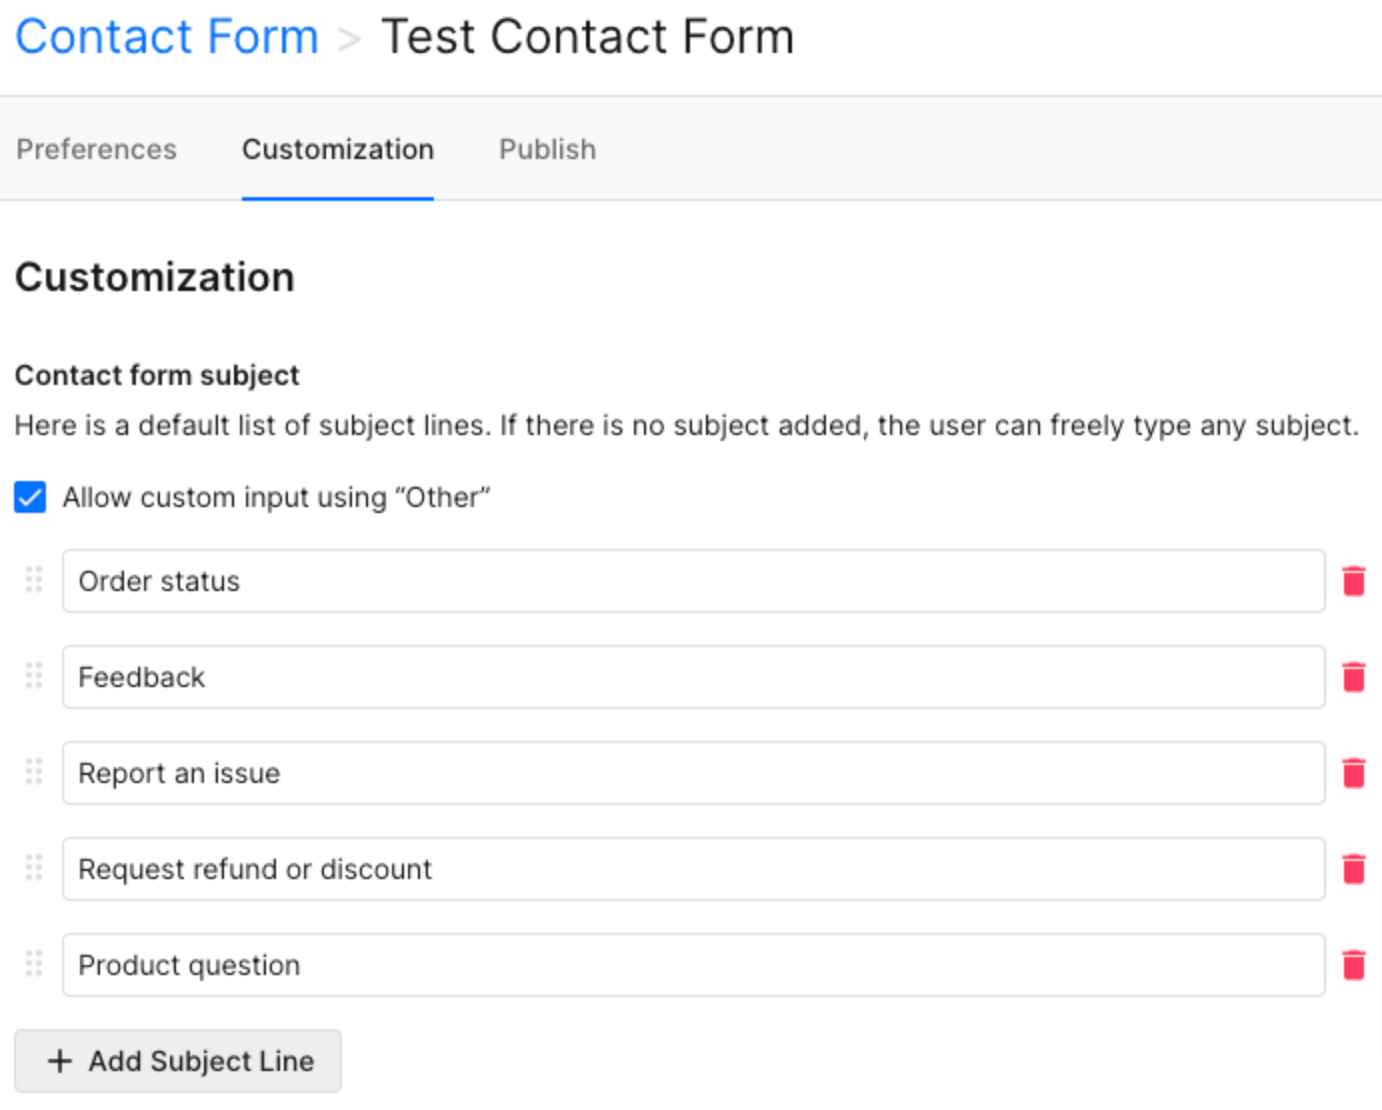
5. When you're ready, you can move to the Publish tab. You can choose to publish the Gorgias contact form in 3 ways:
- Via a direct shareable link
- Manually embed the form on your website via HTML code
- Auto-embed the form on your website
Please note that it is not possible to customize the style of the Contact Form at this time.
When you create a Contact Form, a corresponding View will be created, so you can easily find all customer queries submitted through Contact Form.
If you have a direct Google or Outlook email integration, those queries will be visible in your native mailbox as soon as you respond to them.
