Create a FlowUpdated 2 months ago
Create and publish a Flow
- Go to Settings from the main menu, then select Flows
- Select Create Custom Flow
- Alternatively, select Create From Template to start with a pre-built Flow based common uses cases
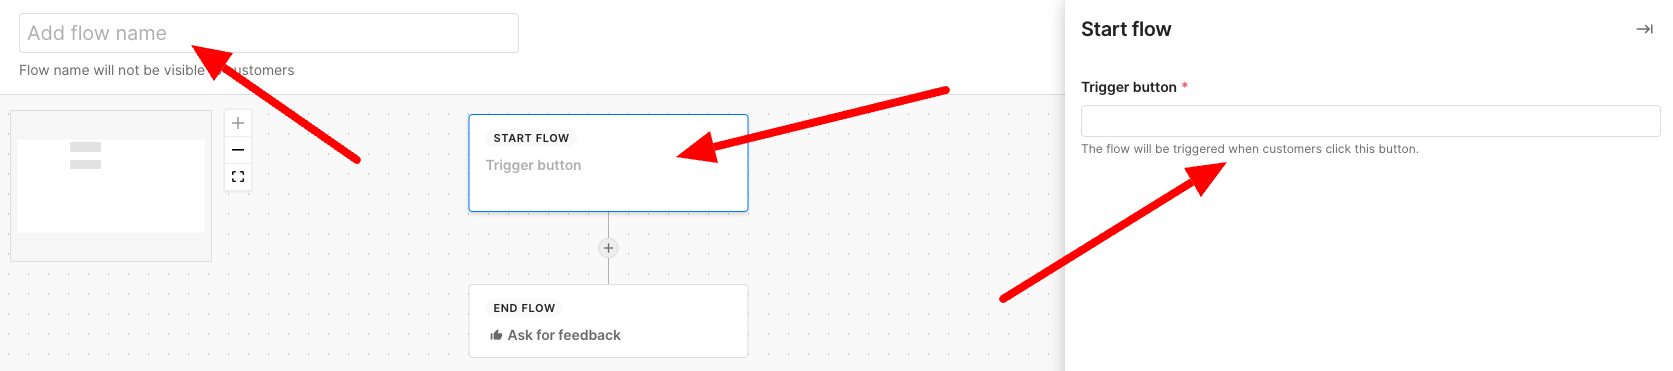
- Enter a name for your Flow (this isn't visible to shoppers)
- Select the Trigger button and enter a name (this will be visible to your shoppers in Chat and used to start the Flow - for example, "How do I know my shoe size?").
 5. Select the + icon under the trigger to add option steps and select the type of step from the dropdown menu
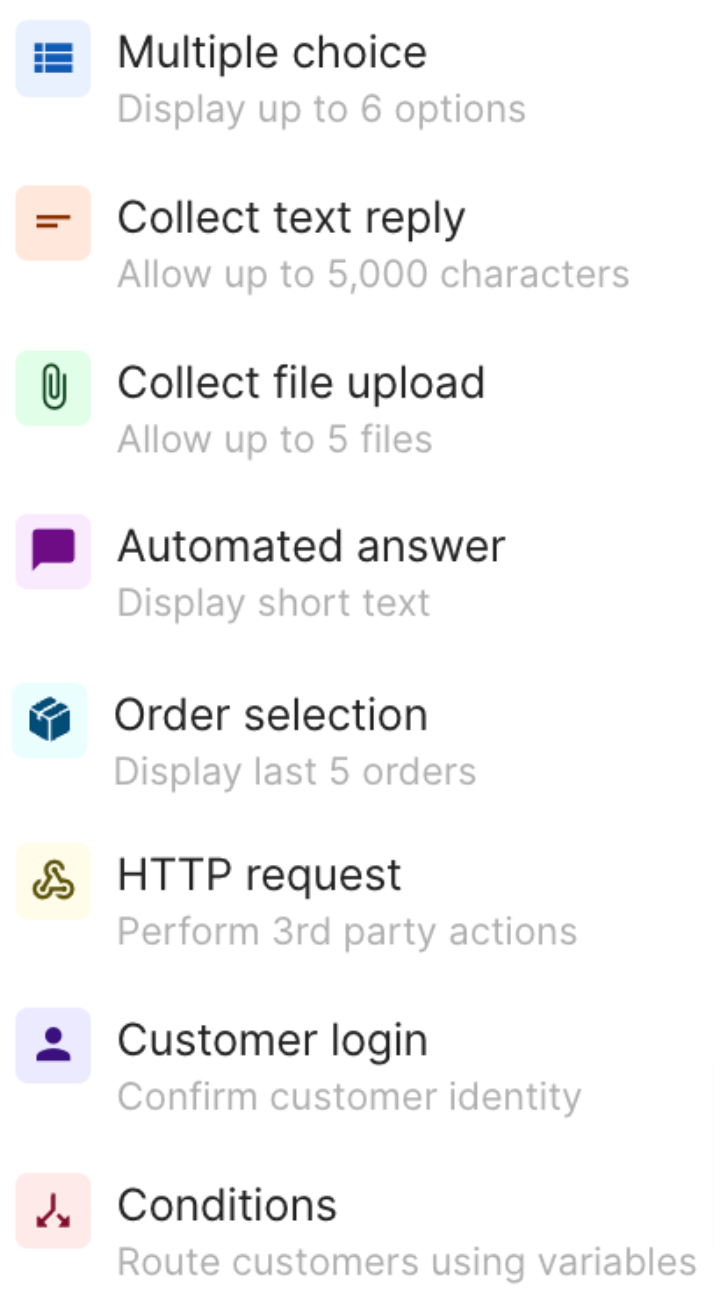
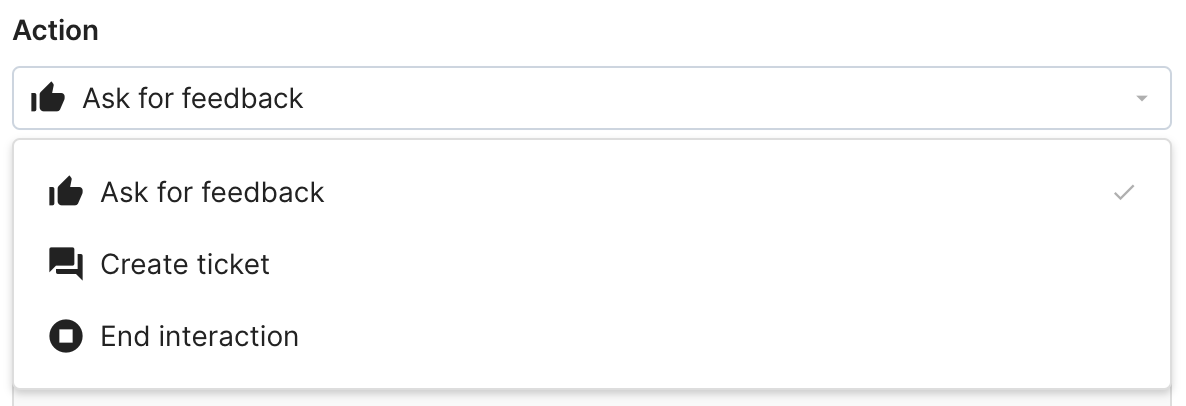
- Continue to add steps to create paths and, when you're happy with the setup, click on the End Flow node and select the desired end step.
- Select on Publish to finish
Save a Flow as a draft
Saving Flows as drafts allows you to preserve your work without having to complete all the steps or leave the Flow builder.
If you want to keep working on your Flow before publishing it, select the Save button in the upper right corner instead of the Publish button.
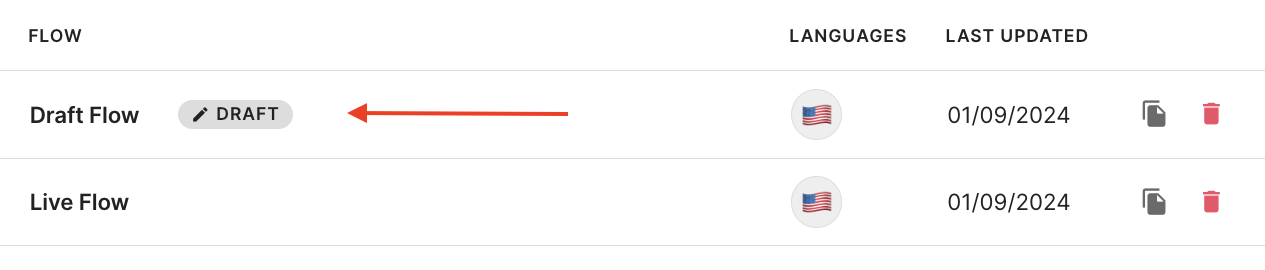
Flow drafts can be saved as incomplete, but they have to have a title. They'll be labeled as Draft and won't appear in your Channels settings, so there's no chance of making them visible to your shoppers by accident.
When you're happy with the Flow, select the Publish button in the upper right corner which will take you to the Channels tab, so you can enable the Flow and make it visible to your shoppers in the selected channels.
Add Flows to your Channels
Once your new Flow has been created, enable it in the desired channels — these are the channels where your trigger will be displayed.
If you want to see what your Flow looks like on a channel, use Test mode to review the Flow without creating billable tickets.
- Go to Settings from the main menu
- Select Flows > Channels
- Open the Currently viewing dropdown menu to select a Channel for your Flows (Chat, Email, Contact Form)
- Select Add Flow to display up to 6 Flows on the selected channel
.webp)
