
Customize Chat AppearanceUpdated 5 months ago
By navigating to Settings → Channels → Chat -> your Chat integration -> Appearance, you can change the look of your Chat widget to customize it for your brand.
To the right, you'll see a preview of what your Chat will look like with the selected settings.
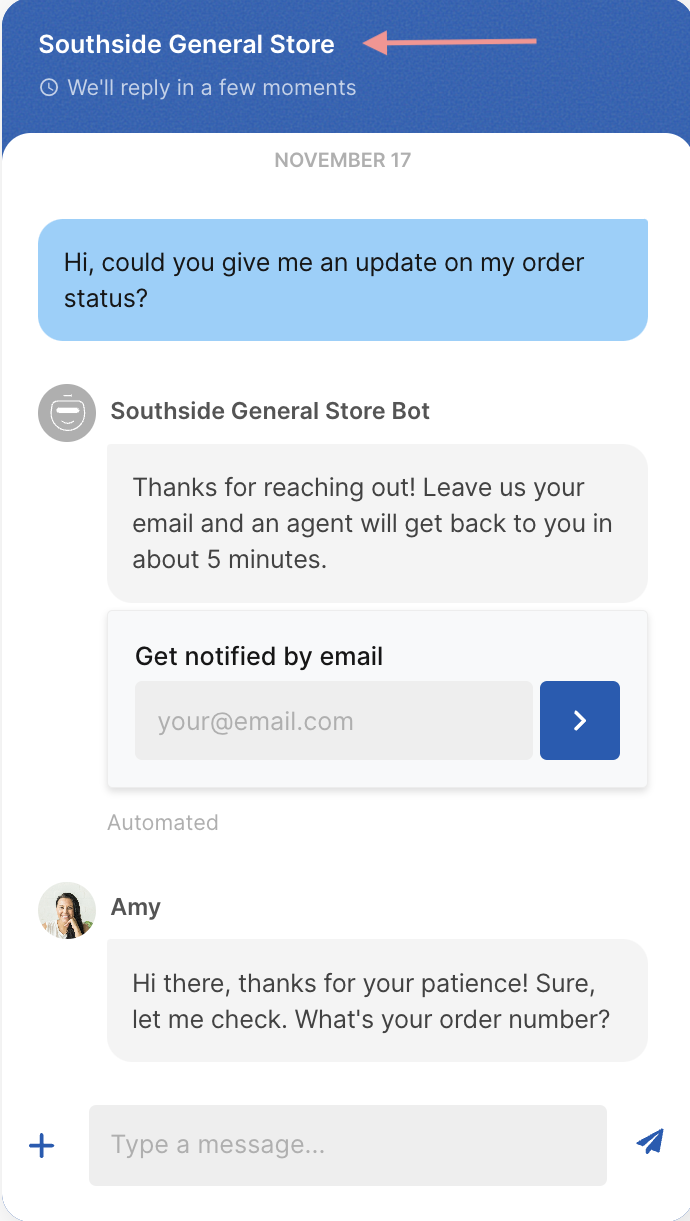
Chat title
In this section, you can choose the title of the Chat that'll be displayed to customers in the Chat's header once they click on the widget on your website.
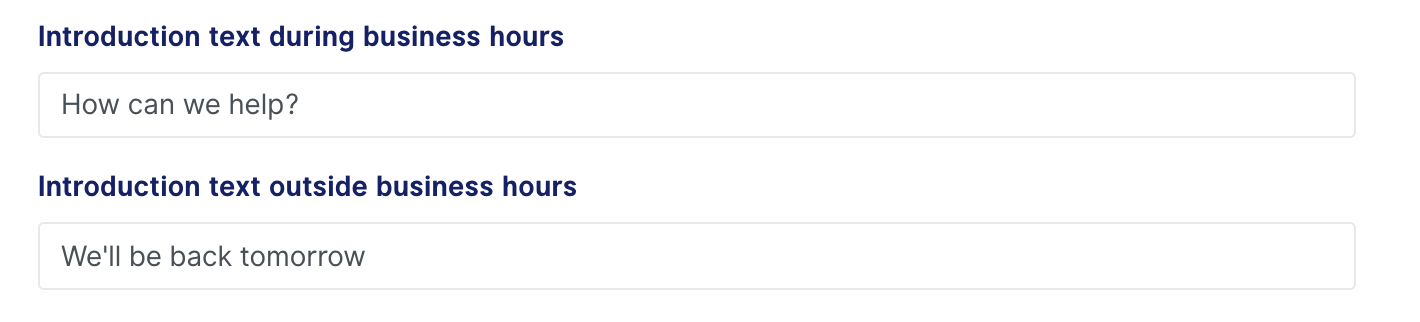
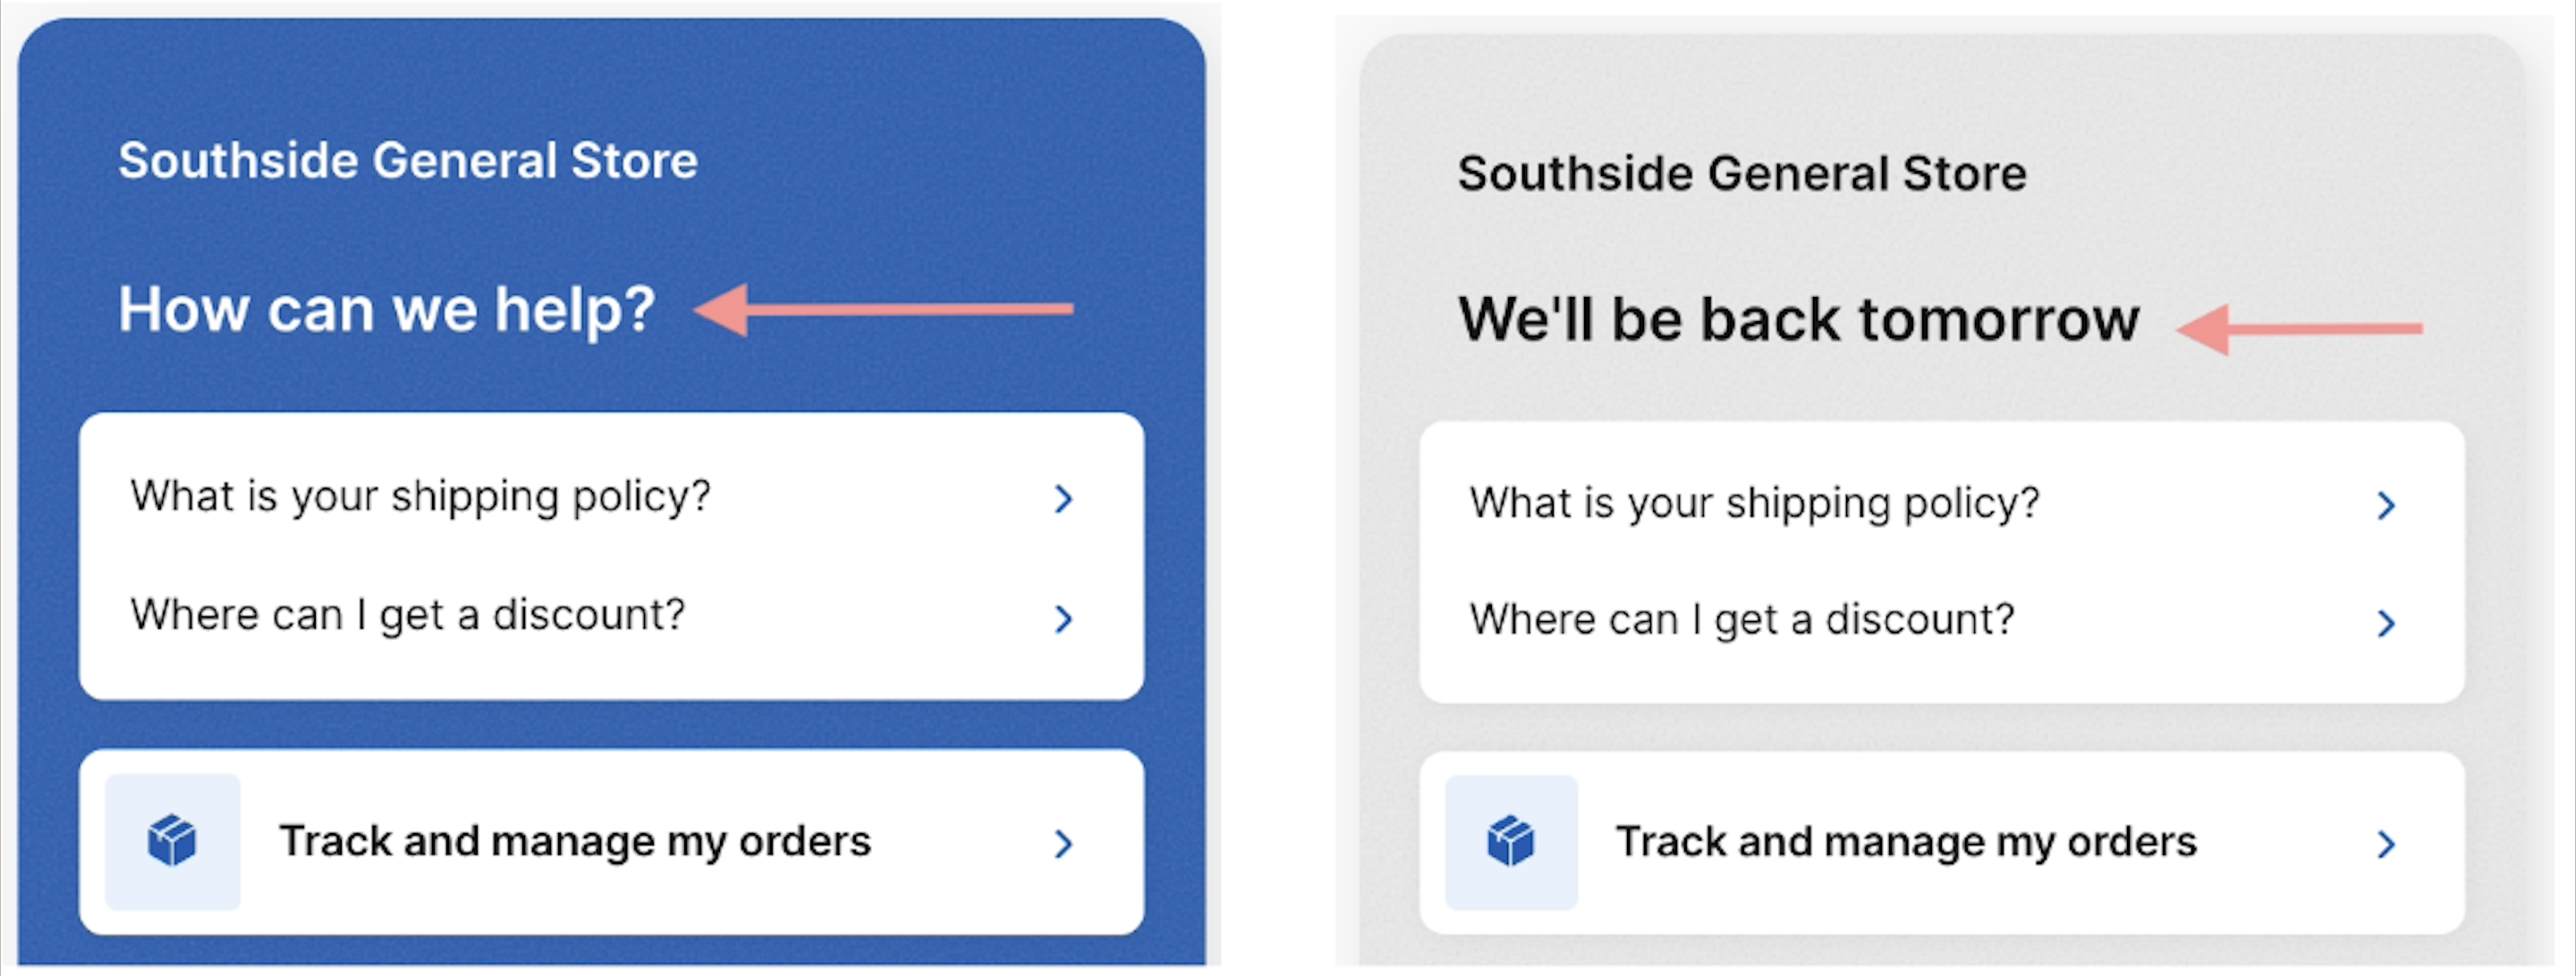
Intro message
These messages will be displayed inside the header of the Chat, depending on your business hours.
There are two fields available:
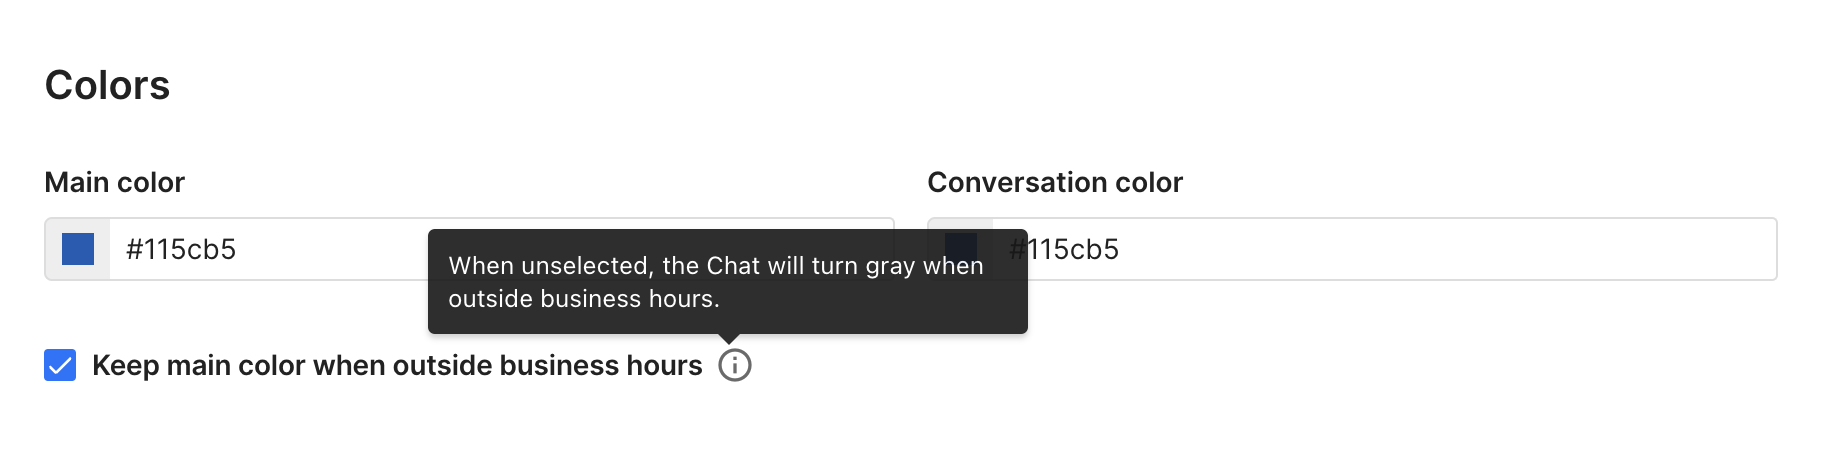
Colors
You can change the color of your Chat's header and the conversation bubble. Additionally, you can select whether the fill will be gradient or in solid colors.
Unless you set it up otherwise as described below, the main color of your Chat as well as the Chat icon outside of business hours will always be gray.
If you'd like to keep the conversation color outside of business hours, check the Keep main color when outside business hours option.
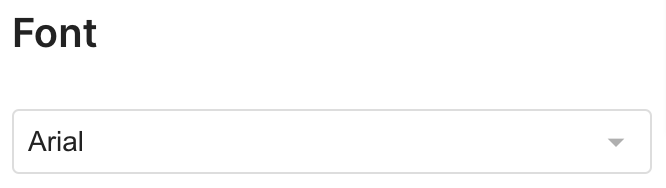
Font
You can choose from a large selection of fonts in the drop-down menu.
Company logo
You can choose to display your company logo instead of the Chat title in the Chat header. The logo can be the same or different during and outside of business hours.
We recommend using horizontal logos with transparent backgrounds and keep in mind that the maximum size of the image is 500 KB.
Agent avatar
Here you can customize how the name and image of your support agents will appear to customers. 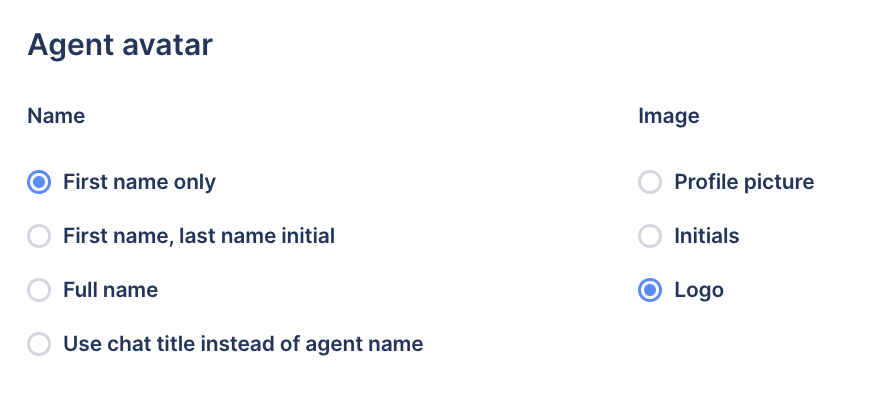 You can also upload an image that will be shown next to their messages. For this customization, we recommend the size 100 x 100 px, of a maximum of 500 KB.
The selected configuration will also be applied to Chat Campaigns.
Chatbot
We added Bot at the end of the Chat title name for automated messages to make sure shoppers are aware of the difference.
If you want to remove it, toggle the Display "Bot" next to chat title for automated messages off.
Launcher
In this section, you can choose between the current widget launcher or a custom label.
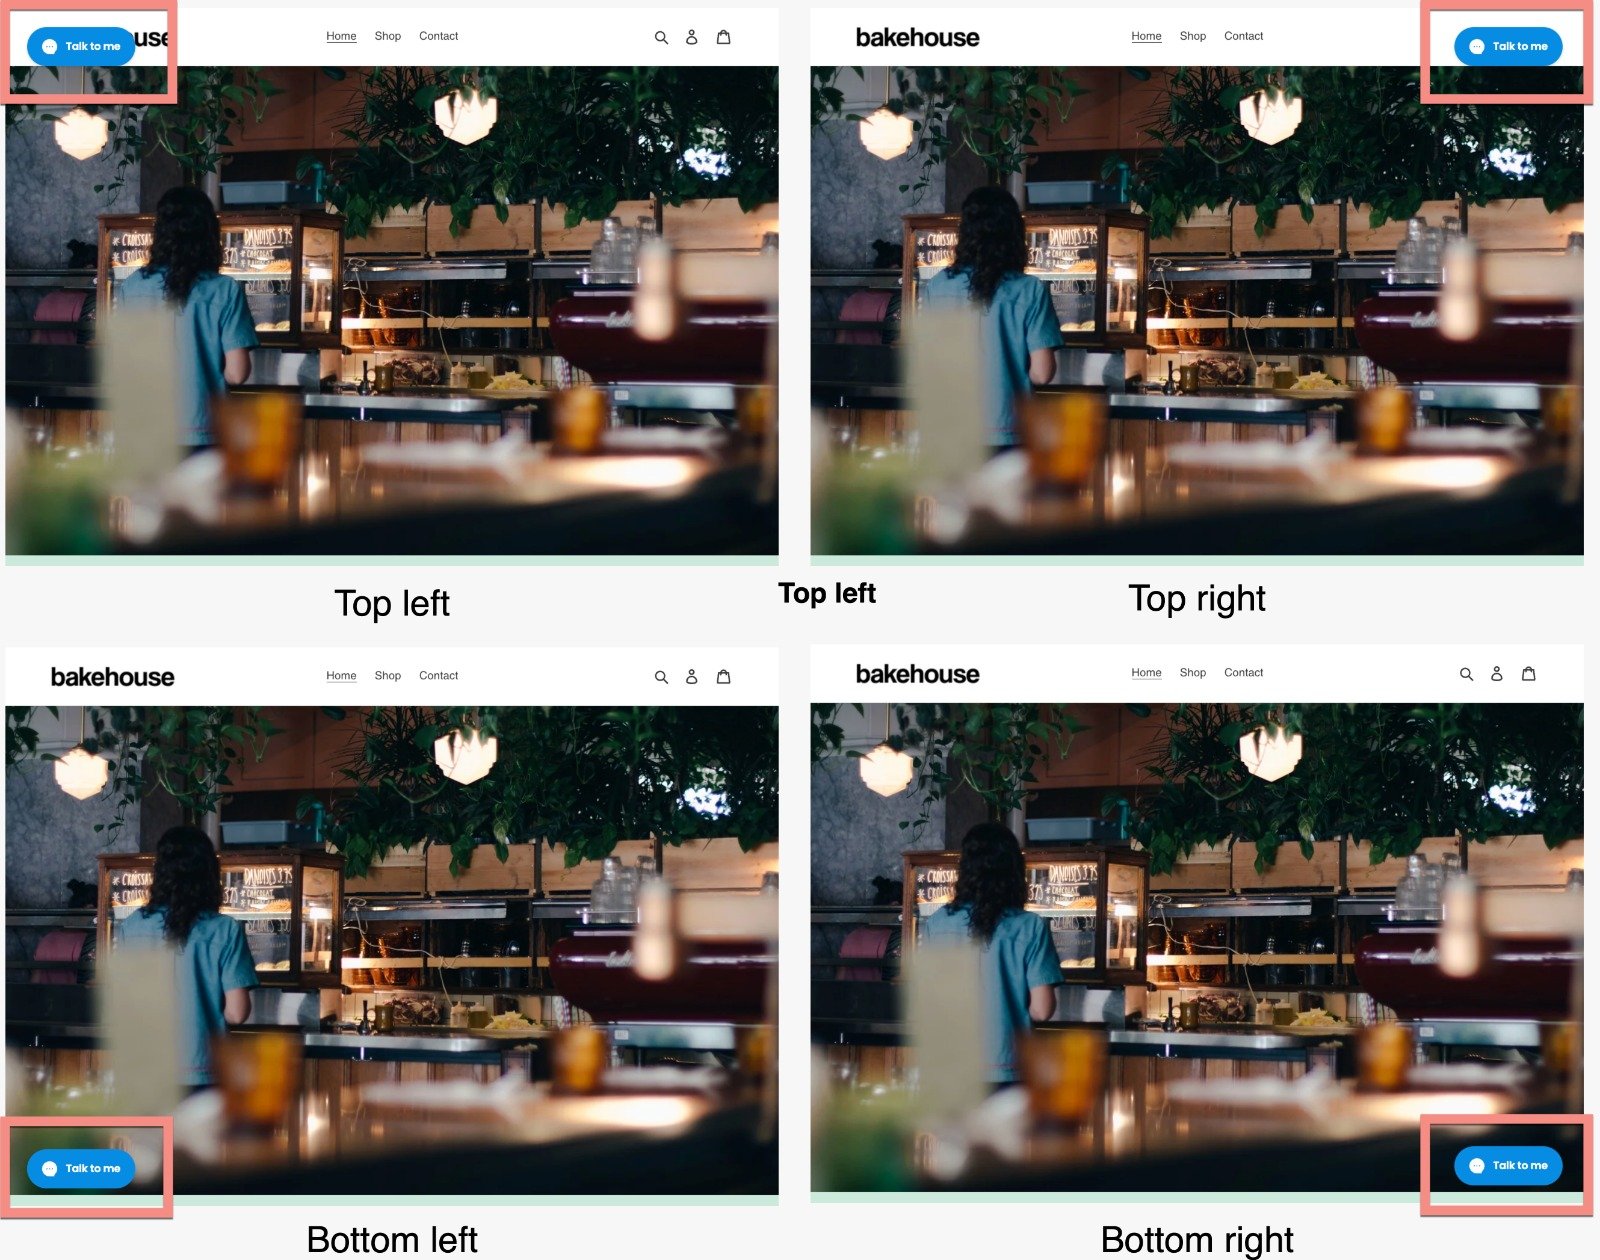
Widget position on page
The widget position setting allows you to choose where the Chat will sit on your website, and, if necessary, adjust the position (up/down/left/right) to accommodate existing widgets.
By default, the widget will be positioned in the bottom right-hand corner of your site, but you can choose to place it in any of the corners or enter how many pixels you'd like to move it manually.
Here's an example of the available positions on the page and how they can be adjusted in case they overlap with other elements.
-a4ee7f6c-fbb3-478b-8701-b9bdfb4c5de1.png)
Chat dimensions
The height of the Chat bubble will dynamically adjust based on the screen size, while never going over the top part of the screen so it doesn’t overlap with your shop’s navigation bar.
When the screen size is too small to ensure a good user experience, the widget automatically goes into mobile view (fullscreen).
