Sendgrid email domain verificationUpdated a year ago
To proceed with verifying your domain, you will need to have admin access to both your Gorgias account and your domain registrar.
Steps
1. Go to Settings → Channels → Email -> the email address you wish to configure.
2. Go to the Outbound Verification tab.
3. Click on Verify Domain - this will allow you to verify all Email integrations within the same domain.
Domain Verification with CNAME records
1. You'll see 3 records you need to add to your DNS configuration on your domain registrar.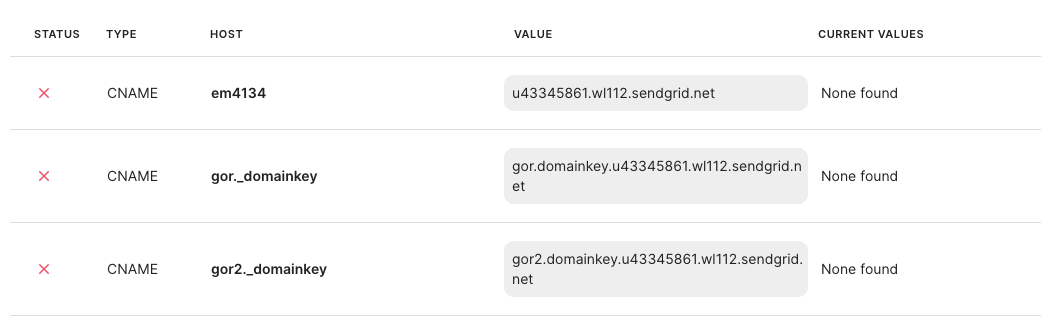 2. Open your domain registrar (the dashboard of your email domain provider) and create a new entry.
3. Enter the details from step 1. If you're using subdomains in email addresses (for example, [email protected], [email protected], [email protected]), you'll need to verify each of those email integrations. Please make sure to add the subdomain behind each Host record (e.g. instead of just em4134, add em4134.us).
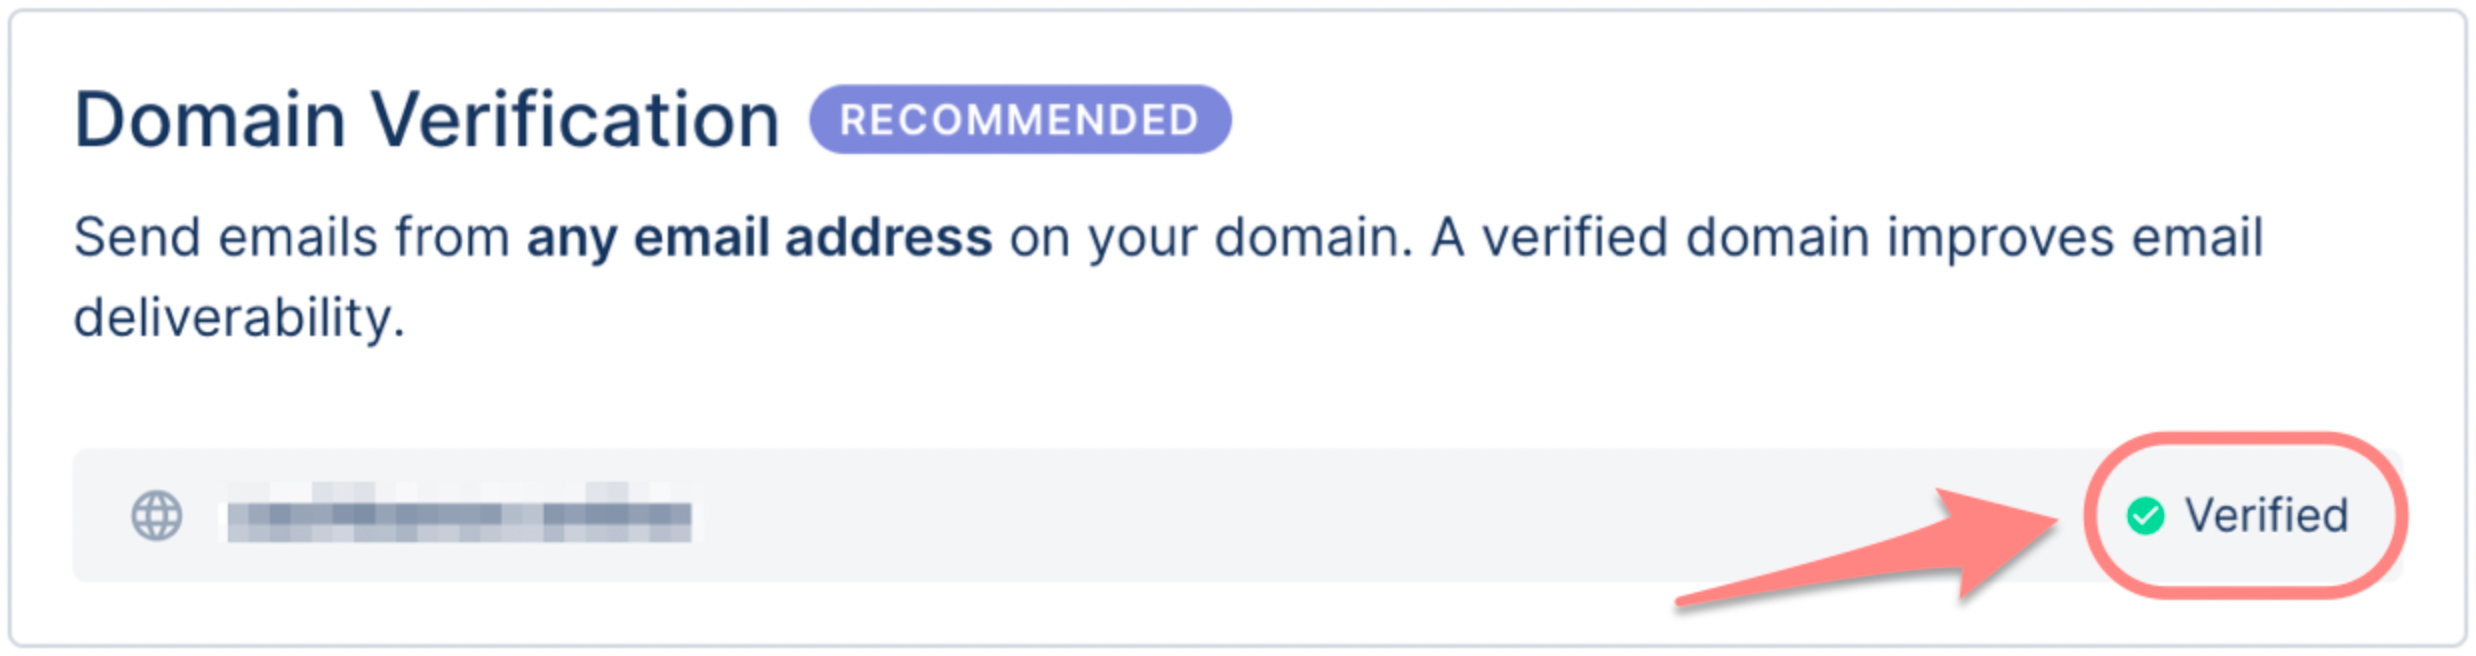
Once completed, the integration will display a green Verified status. Until the records are verified, you won't be able to use your email integration for replies from your helpdesk.
When all of these records are correctly added to your domain registrar, the verification may still take up to 72 hours to be completed. It's highly advised not to change anything if all the entries have been entered correctly and just wait for the 72-hour mark to pass.
Domain verification with MX and TXT records
1. You'll see 3 records you need to add to your DNS configuration, on your domain registrar, you'll also be able to see the current values added to your domain registrar on the Current Values column.
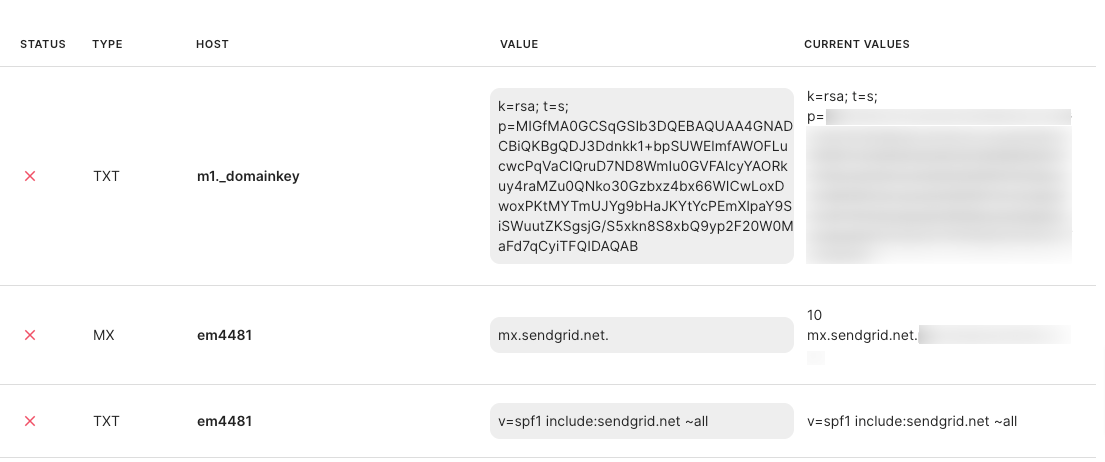
2. Open your domain registrar and create a new entry.
3. Enter the details from step 1.
Some DNS providers might ask for a priority when adding values into the registrar, or in cases where there already are additional MX records - in these cases, the Priority for the provided record will be the default: 10.
Here's an example from GoDaddy:
Once completed, the integration will display a green Verified status. Until the records are verified, you won't be able to use your email integration for replies from your helpdesk.

When all of these records are correctly added to your domain registrar, the verification may still take up to 72 hours to be completed. It's highly advised not to change anything if all the entries have been entered correctly and just wait for the 72-hour mark to pass.
Check out our Domain Verification FAQ if you completed the steps above, but your domain keeps being Not Verified in Gorgias.
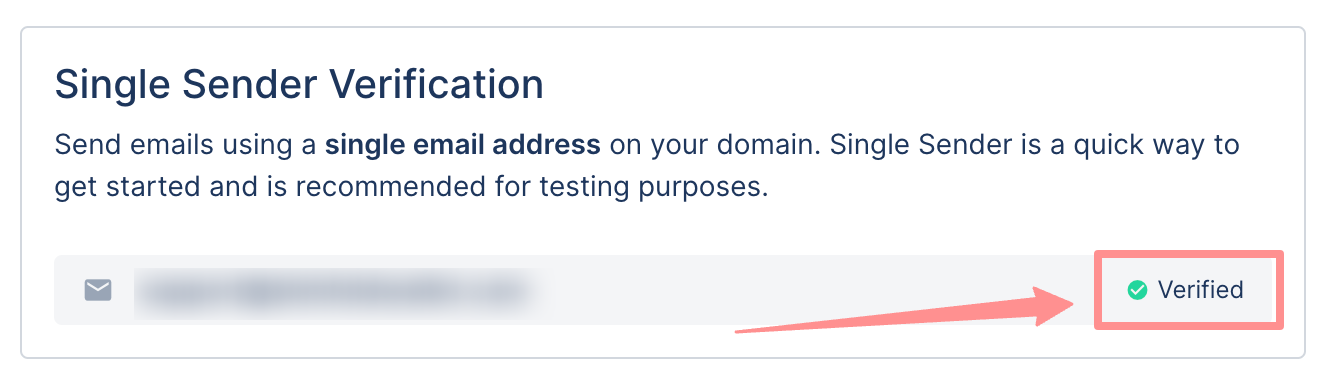
Single Sender Verification (for testing purposes only)
1. Go to Settings → Channels → Email -> the email address you want to configure.
2. Go to the Outbound Verification tab
3. Click Verify Single Sender.
4. Enter your company details - this will trigger a verification email to your address.
Single sender verification should be used only for testing purposes, and for email addresses with a free email domain (addresses ending with gmail.com, outlook.com, freemail.com) - it won't suffice for using Gorgias fallback method for sending emails if Gmail/Outlook API fails, and won't be enough to guarantee the security levels required by Google and Yahoo from February 2024.
Therefore, your email deliverability may be negatively affected if you set up Single Sender Verification only, and you'll still need to complete Domain Verification to comply with the required security standards.
Once completed, the integration will display a green Verified status. Until the records are verified, you won't be able to use your email integration for replies from your helpdesk.