Create a Help Center, Article, or CategoryUpdated 6 months ago
We'll go through how to set up a Help Center, create an article, and create a category and subcategory to put your articles in.
Steps
Create a Help Center
1. Navigate to Settings → Channels -> Help Center -> Articles.
2. Click on Create Help Center in the upper right.
3. Enter your Help Center name and subdomain, select a language, and select the email address (used for inbound tickets created by the contact form and automatic replies) and Shopify store (used for Automate features) you wish to connect - these can be changed at any time.
4. Click on Add Help Center.
5. Add articles and categories manually, select one of AI-generated suggestions or templates, or import your existing articles (CSV or Zendesk, HelpDocs, Re:amaze, and Intercom).
Create an article
From scratch
1. Click the Create Article button in the top right.
2. Enter an article name.
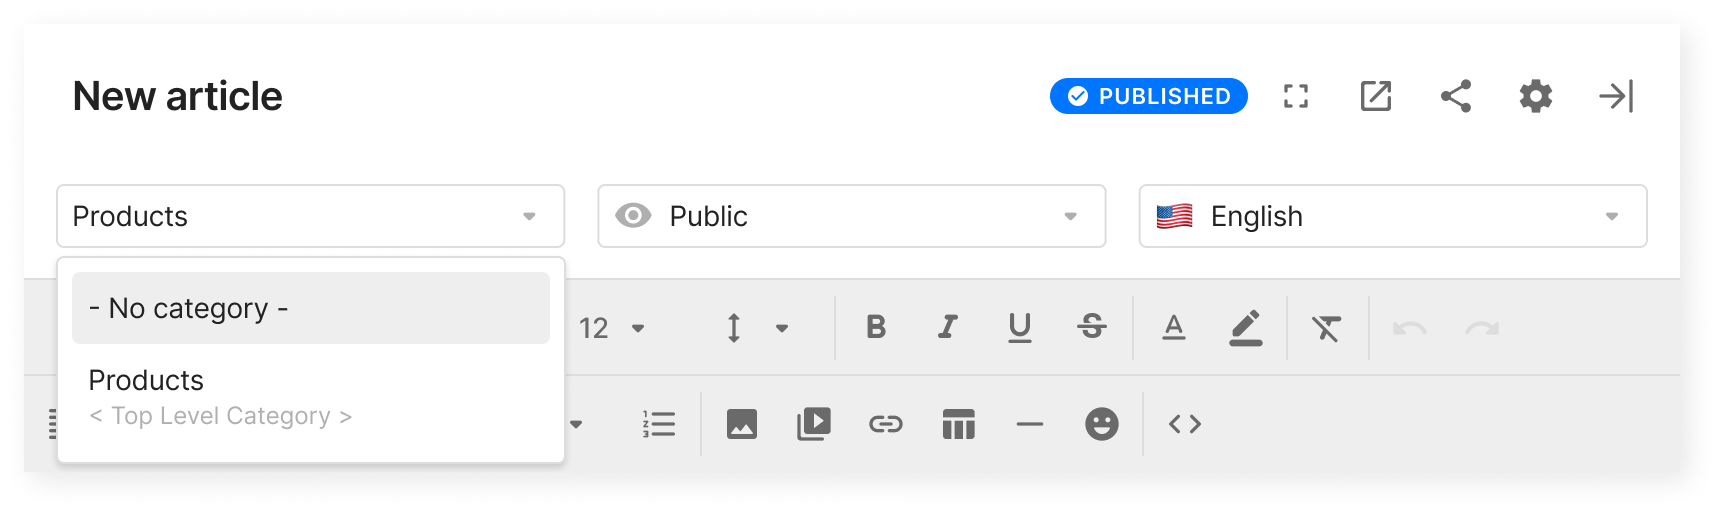
3. Select a category (optional).
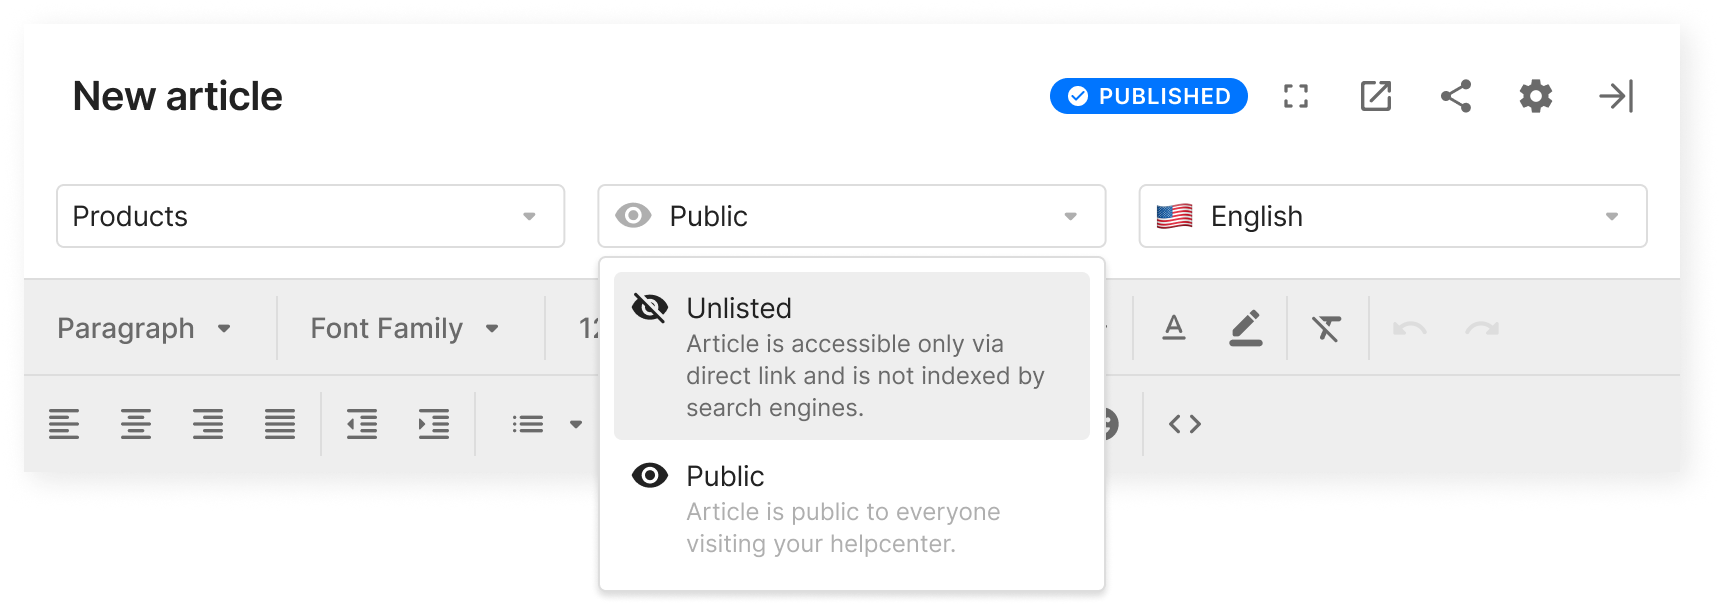
4. Set article visibility:
- Unlisted articles exist publicly but can't be searched for in your Help Center and don't appear in search engine results - the only way to view an unlisted article is via URL.
- Public articles can be found using the search in your Help Center and may appear in search engine results.
 5. Select a language.
6. Enter article content and create or save.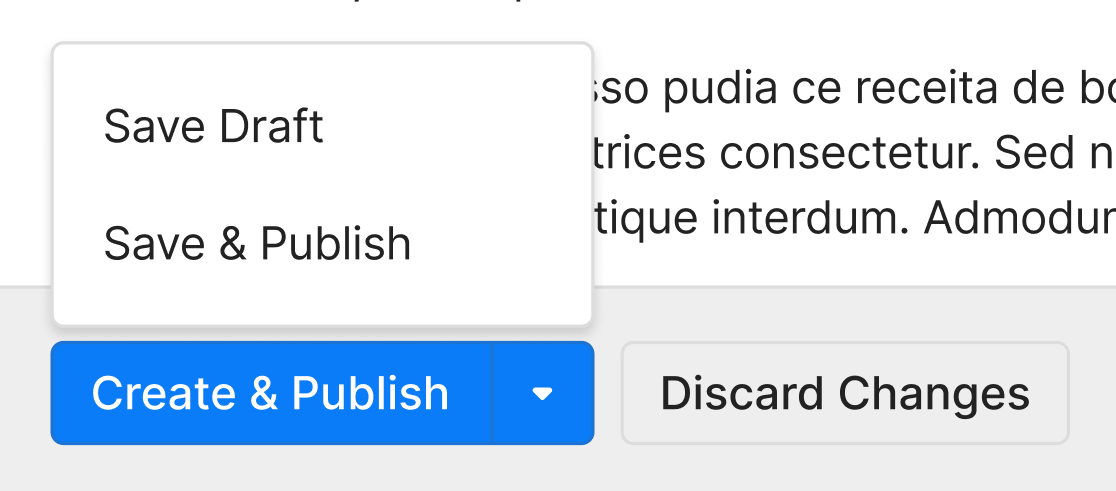
AI-generated articles
We can help you start your Help Center as soon as you create it. At step 3 of your Help Center wizard, you'll see several article recommendations that have been generated by AI based on the data in your tickets. You can find more information in this article.
Once your Help Center is set up, you can keep updating and improving your content by reviewing and managing articles in AI Library.
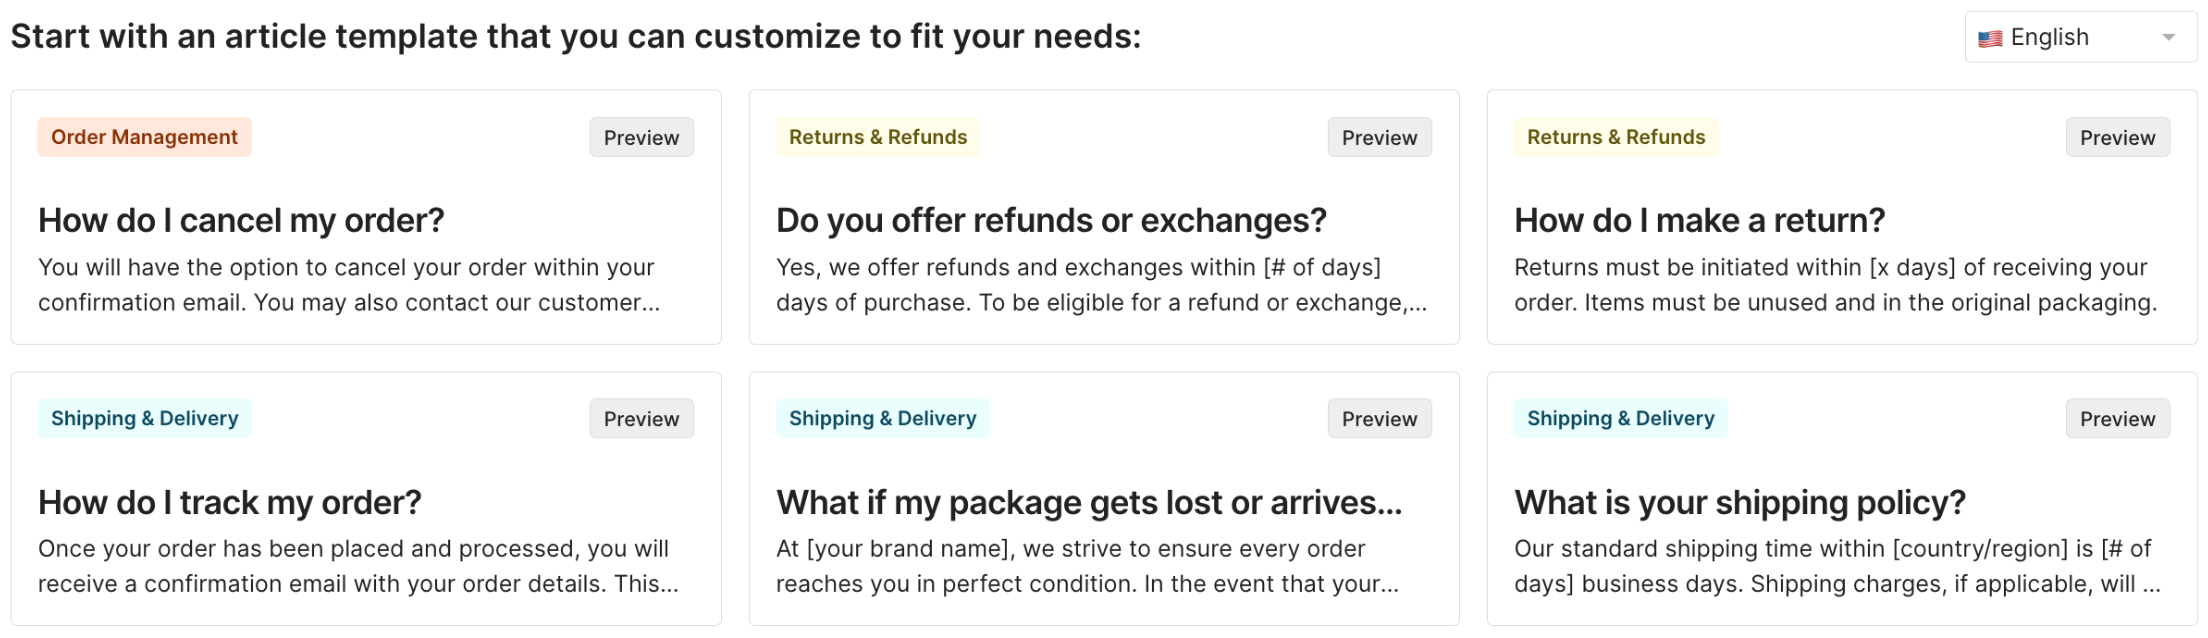
Using templates
If you're not sure how to start your Help Center, you can use one of our templates and just add the details specific to your business.
Import articles
Articles can be written and formatted in a CSV file and uploaded to your Help Center or you can directly import your Help Center articles and categories from Zendesk, HelpDocs, Re:amaze, and Intercom into Gorgias.
Create a category
As soon as you create your first article, you'll be able to create a category to put it in. 
1. Click on Create Category in the top right.
2. Edit your category's title, slug (the category's link), and description. You can also set up a category in any of the currently supported languages set up for your Help Center.
3. You can add a picture for the category here and it'll be shown in a grid in your Help Center.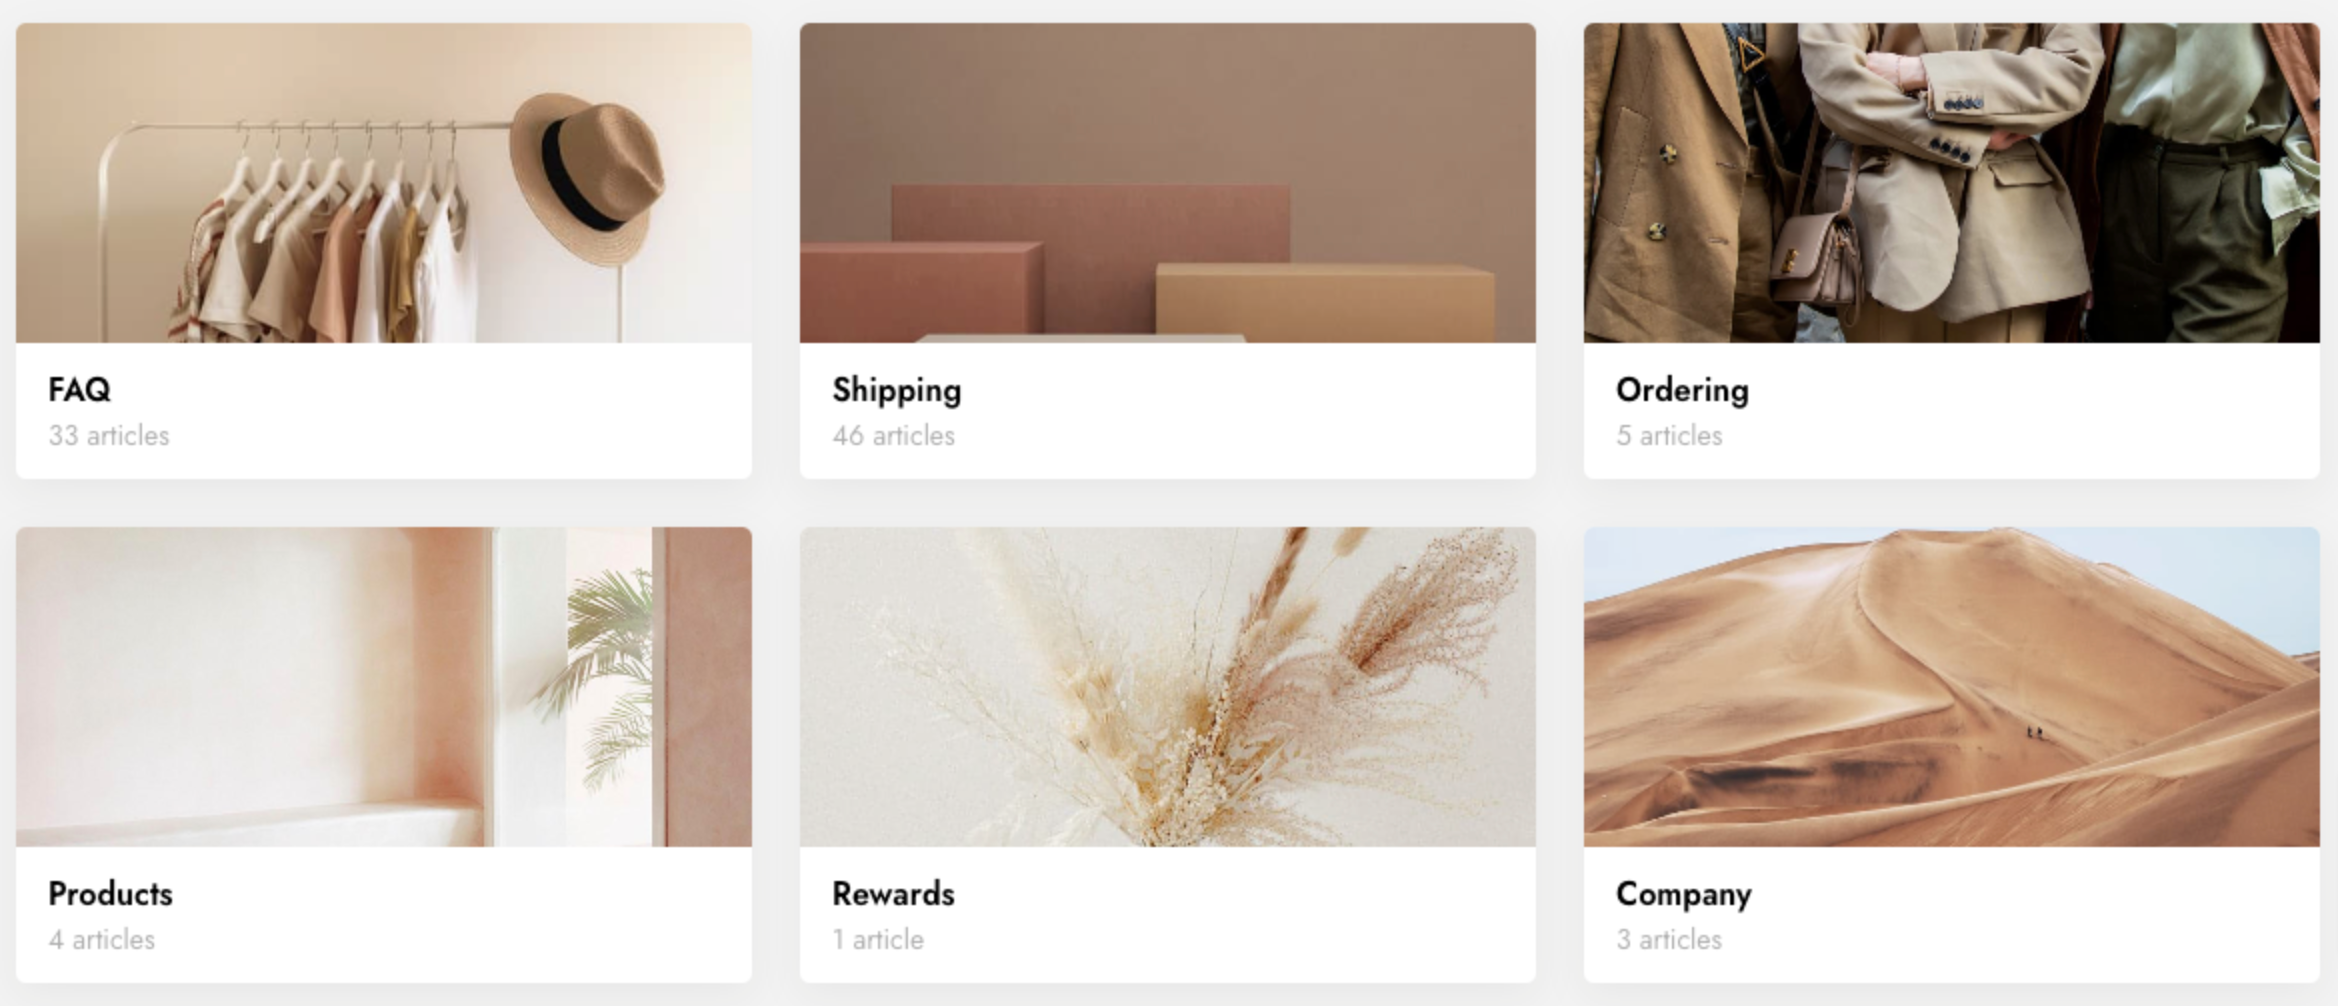
4. Click Create Category and you'll see your new category in the list.
Create a subcategory
There are 2 ways of creating a subcategory:
- Click on the Create Category button in the top right of the page and choose a Category parent from the dropdown in the top left.
- Click on the category row quick-actions icon to directly create a child category.

