Gorgias Help Center
It is our pleasure to introduce to you our native Help Center integration! Now available to all non-legacy customers. đ
How it works
With the Gorgias native help center, you can set up an FAQ page on your website containing articles and guides sorted into categories for your customers to browse. This page will come in handy for addressing all of those questions that your customers often repeat to your CS team via email or chat. However, as you can imagine, articles can contain way more detail than you can convey via chat, along with screenshots, videos and GIFs to help your customers learn about your products and services in-depth!
Setup Instructions
Please follow the instructions below in order to create your help center:
- First, please follow the path Settings â Help Center under 'General':
- A page will open up on the right where you can start building your FAQs page. To start, please click on the green '+ Add new'button in the top-right corner of the screen:
- Here you can set up some basic customization for your help center, such as the name, subdomain (you can choose either the default one that the system will set up for you or set up a custom one with the instructions from this guide), language, theme, logo, font, banner and the highlights color:

- Now you can choose to either create a new category or a new article:
- Let's start by creating a category first. If you click on 'Create Category', a new window will open up on the right where you can edit your category's name, slug and description. You can also set up a category in any of the currently supported languages that you have set up for your Help Center.

Hit 'Save' and you'll see your new category on the list:

- You can now create a subcategorywithin this category! You have 2 ways of creating a subcategory. You can:
- Click on 'Create a category' then choose a Parent category in Category Settings.
- Click on the category row quick-actionsto directly open a form to create a nested category.
- Click on 'Create a category' then choose a Parent category in Category Settings.
- Now, let's add a new article to this category. Please click 'Create Article'in the upper-right corner of the screen. A new window will open up, like below, where you can give your article a title, add it to a category or a subcategory, write the article in any of the supported languages, and edit the text with some standard text formatting options.
Click 'Save Article' once you are happy with your work.

Congrats! You now know how to create a Help Center, as well as how to create categories and add articles to categories.
Now, let's go over some other appearance customization options to get your Help Center to match your branding.
Contact
Here you can enable the chat widget on your help center page, as well as add contact cards.
- To enable the chat widget, simply toggle the 'Enable chat widget' option on and choose the relevant chat integration from the list.
- For contact cards, just scroll down a bit and toggle on the ones that you want to have enabled. You can choose between Email, Phone and Chat. You can select the language that you want to apply for each card, as well as add a unique descriptionfor each card.
- Once you're happy with the setup, simply hit 'Save Changes' and you'll be ready to go!
Appearance
On this tab, you can add your logo to your new help center, as well as select a light or dark theme, primary (highlight) color, the font and add your help center banner title and image. Then, you can also enable a search bar to help your customers find the guides that they're looking for faster. Lastly, you can choose to add or remove the Gorgias label as well.

Don't forget to click 'Save changes' once you're happy with the setup!
Preferences
In 'Preferences', you can edit your help center name, select the default language, add more language options and edit your SEO options.

Languages
For languages, at the moment, 10 languages are supported just like with the chat integration:
- English (US)
- Czech
- Dutch
- Danish
- French (France)
- French (Canada)
- German
- Italian
- Norwegian
- Swedish
- Spanish (Spain)
- Spanish (Latin America)
SEO options
This part allows you to add tracking links and other scripts to improve your help center search engine.
- The help center is server-side rendered and uses light technologies that should make it quite good at performance tests from search engines!
- In each article and category you can customize the meta tags, apart from SEO optimization of your general help center page, as shown below:

Customization
Here you can add hyperlinks to your page in the help center header and footer, as well as add links to your social media accounts that will be displayed in the footer.

You can also add custom HTML code to customize your header and footer further.

Installation
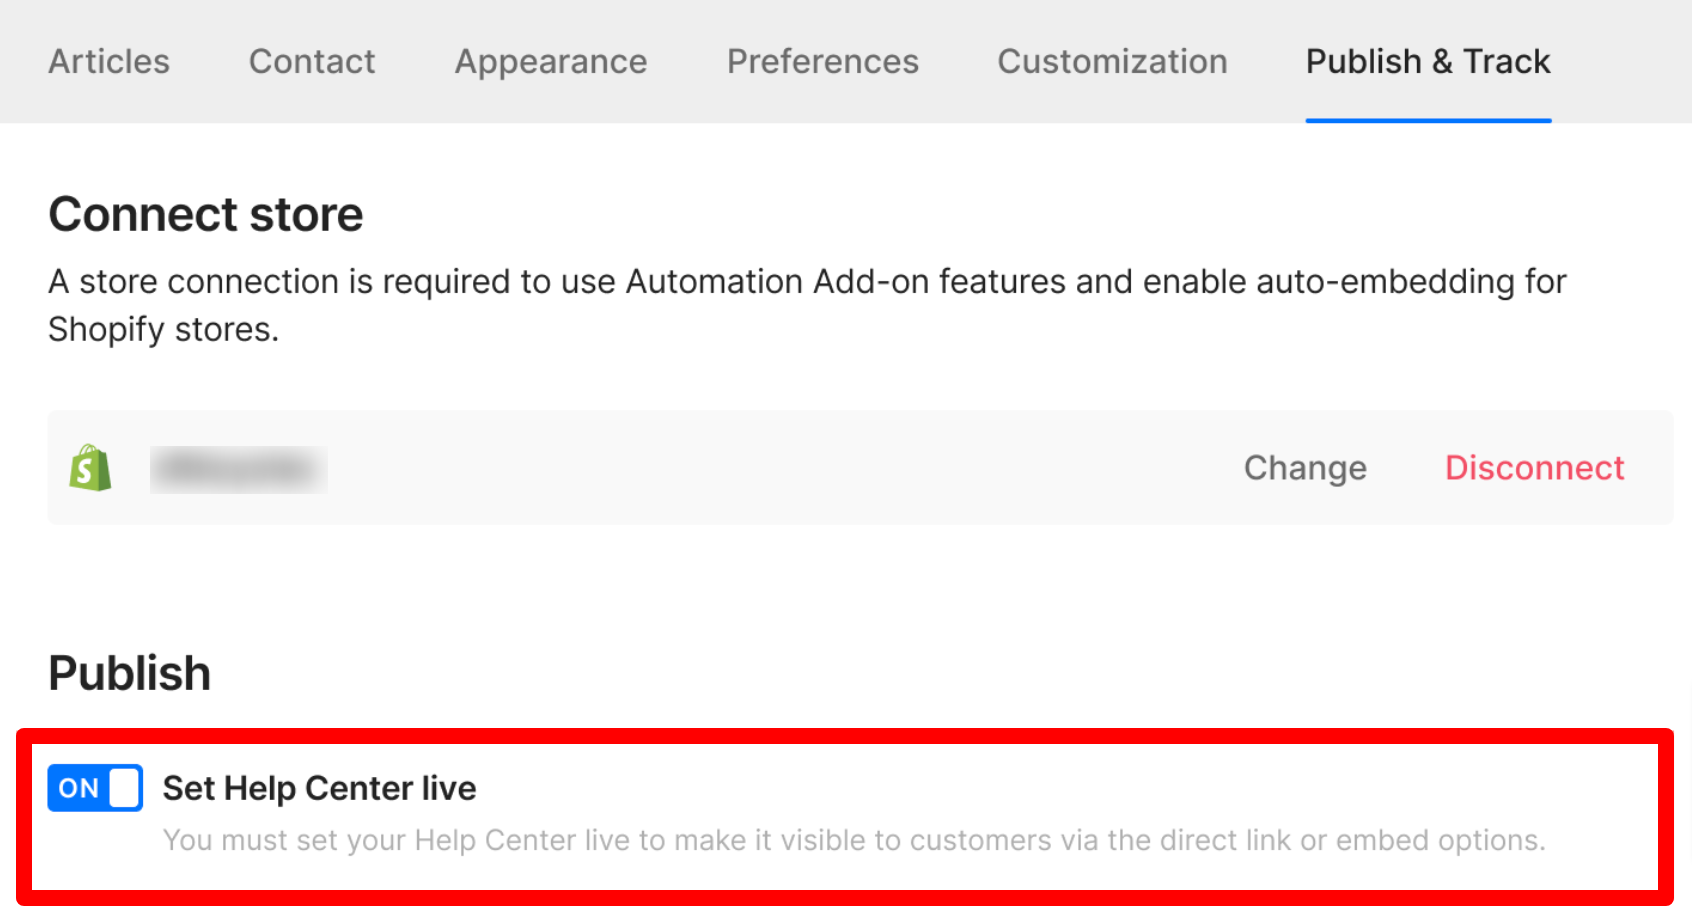
This is the best part. On this page, you can click on 'View Live Site' to preview your help center's finished look. You can also create a custom subdomain by following the instructions here. Last, but not least, you can import all of your existing articles in just a few clicks by selecting 'Import Articles'.


Article Import
If you already have a help center set up elsewhere, it's super easy to migrate! You can import all of your articles into your new Gorgias help center by simply following one of the two guides below, depending on where you are importing from.
- CSV Import
- Export all of your articles in CSV format from the platform that you're currently using. When you export please exclude the drafts and private articles for now.
- Go to the 'Installation' tabin your Help Center integration settings in Gorgias:
- Click 'Import Articles' at the bottom of the page. A pop-up window will appear where you can drop your files to the 'Drop your CSV here' tile or import articles from another provider that you were previously using, such as HelpDocs, Zendesk, Re:Amaze etc. Once uploaded, click 'Import File':
- Once the import is done, the next page will allow you to choose the language of the imported articles and then you can match the columns with the ones in your CSV:

You can choose to have the system auto-generate the ones that are missing or manually pick the options from the drop-downs on the right to match. Once you're happy with your selections, click 'Confirm Import'.
- You can now see all of your articles imported and filed under the relevant categories. Of course, if you had some articles that were uncategorized, they will be imported as uncategorized here as well. But you can always move them to any category you wish from the Gorgias interface as well once the import is done:
- HelpDocs / Zendesk Import
- Choose the second option, 'Import from another provider', on the pop-up that appears once you click on 'Import Articles'as shown below:
- Depending on your previous provider, pick either 'Zendesk' or 'HelpDocs'on the second window:
- For example, if you chose HelpDocs, the next screen will prompt you to insert in your API key. To find it, please follow these instructions here. Once you insert the key and click 'Connect', the next prompt will let you 'Start migrating':
Let the process finish and you'll soon find your articles imported. Then, you will be prompted to choose the language and match the columns just like in step 4 of the CSV import above.
Ok, you're all set! Now that you have your articles and categories, you can take care of SEO.
Customer feedback
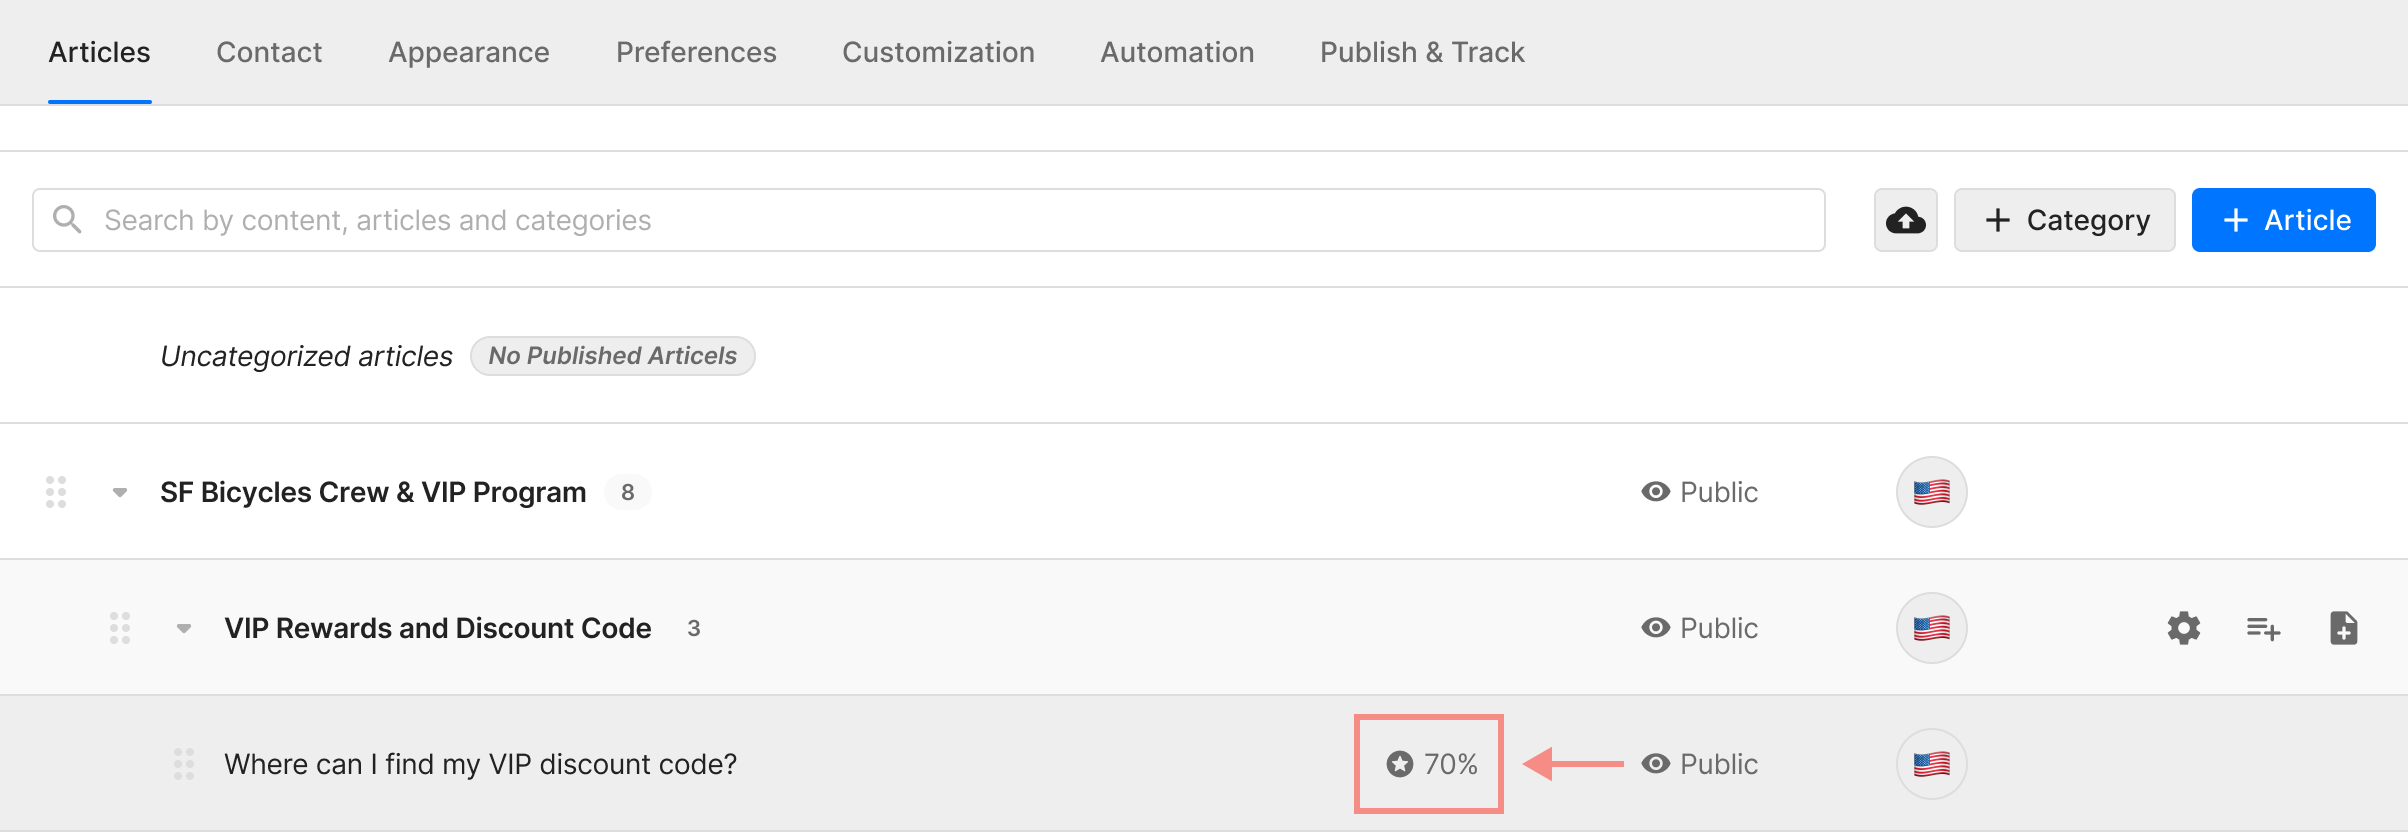
You can see your customers' feedback on whether the article was helpful or not!
It can be found in the Gorgias helpdesk, once you go to Settings â HelpCenter â Articles â 'Desired article', and it will be visible on the right-hand side.

Limitations
For the current limitations with the help center integration that you may encounter please refer to the list below:
- Please keep in mind that we don't support private articles just yet. However, an article can be published in draft before making it available to the visitors.
- The size limit for each images/GIFs in the article is 10 MB.
- The current limit of content per article is 1MB (not counting images). It represents between 200k and 900k characters depending on the styling.
- Once the import is done, the column matching will either be done automatically or some will have to be matched manually. It all depends on the platform that you were previously using where the articles were exported from.
- When you import a CSV file, the images and other types of media won't be imported, they will still be hosted at your previous provider. You will need to upload them manually once again once the import is done. This is only the case with CSV import though, a direct migration from HelpDocs or Zendesk won't have the same issue.
- A help center may support up to 1000 articles for now, regardless of how they are organized within categories. Note that this is a soft limit, you can go above but we don't recommend doing so in order to ensure a good user experience for you and your audience.
- You can have 4 levels of subcategories per category: Root Category > Sub-category 1 > Sub-category 2 > Sub-category 3 > Sub-category 4 > Article.
- You can have up to 100 direct sub-categories per category.
- You can create an unlimited number of help centers!
FAQs
How do I reposition a category/subcategory?
In order to move a category, click on Category settings quick-action to access the form where you can choose a new Parent for your category.

You can also click on 'Clear selection' if you want your category to be at the root level.

If you have any follow-up questions or concerns regarding the help center integration, please feel free to reach out to our Support Team via live chat or email at [email protected] We're here to talk!